Managing Your Content Library
Learn how to upload, organize, and manage content in the Castit Library.
Overview
The Castit Library is your central hub for managing all media content used on your screens. Content is organized into tabs:
- Uploaded: Your own uploaded media files (images and videos)
- Slides: Custom-designed slides created with the Slide Creator tool
- Stock: Free stock photos and videos from Unsplash, Pixabay, and Pexels
Accessing the Library
- Log in to your Castit account
- Click Library in the left sidebar navigation
- You'll see the Uploaded tab by default
Supported File Types
The upload area lists the supported formats: jpg, png, gif, webp, mp4, mpeg, mov, and avi.
Images
- JPEG (.jpg, .jpeg)
- PNG (.png)
- GIF (.gif)
- WebP (.webp)
Videos
- MP4 (.mp4)
- MPEG (.mpeg)
- MOV (.mov)
- AVI (.avi)
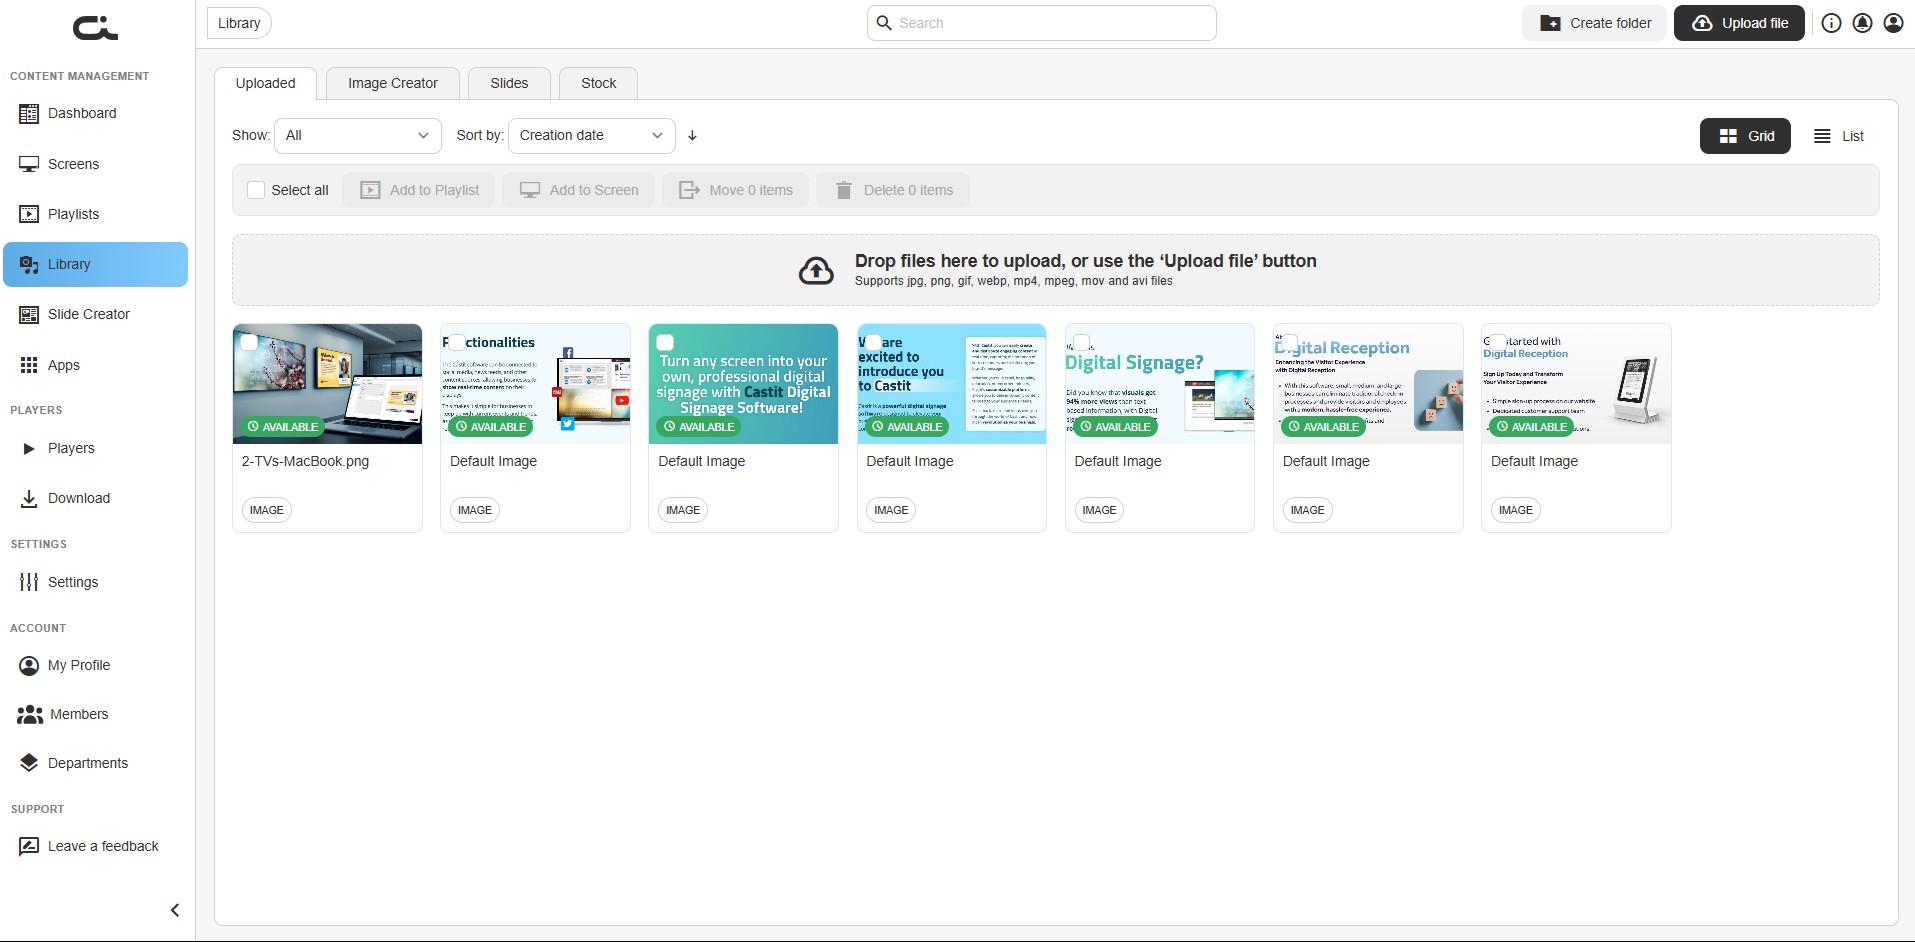
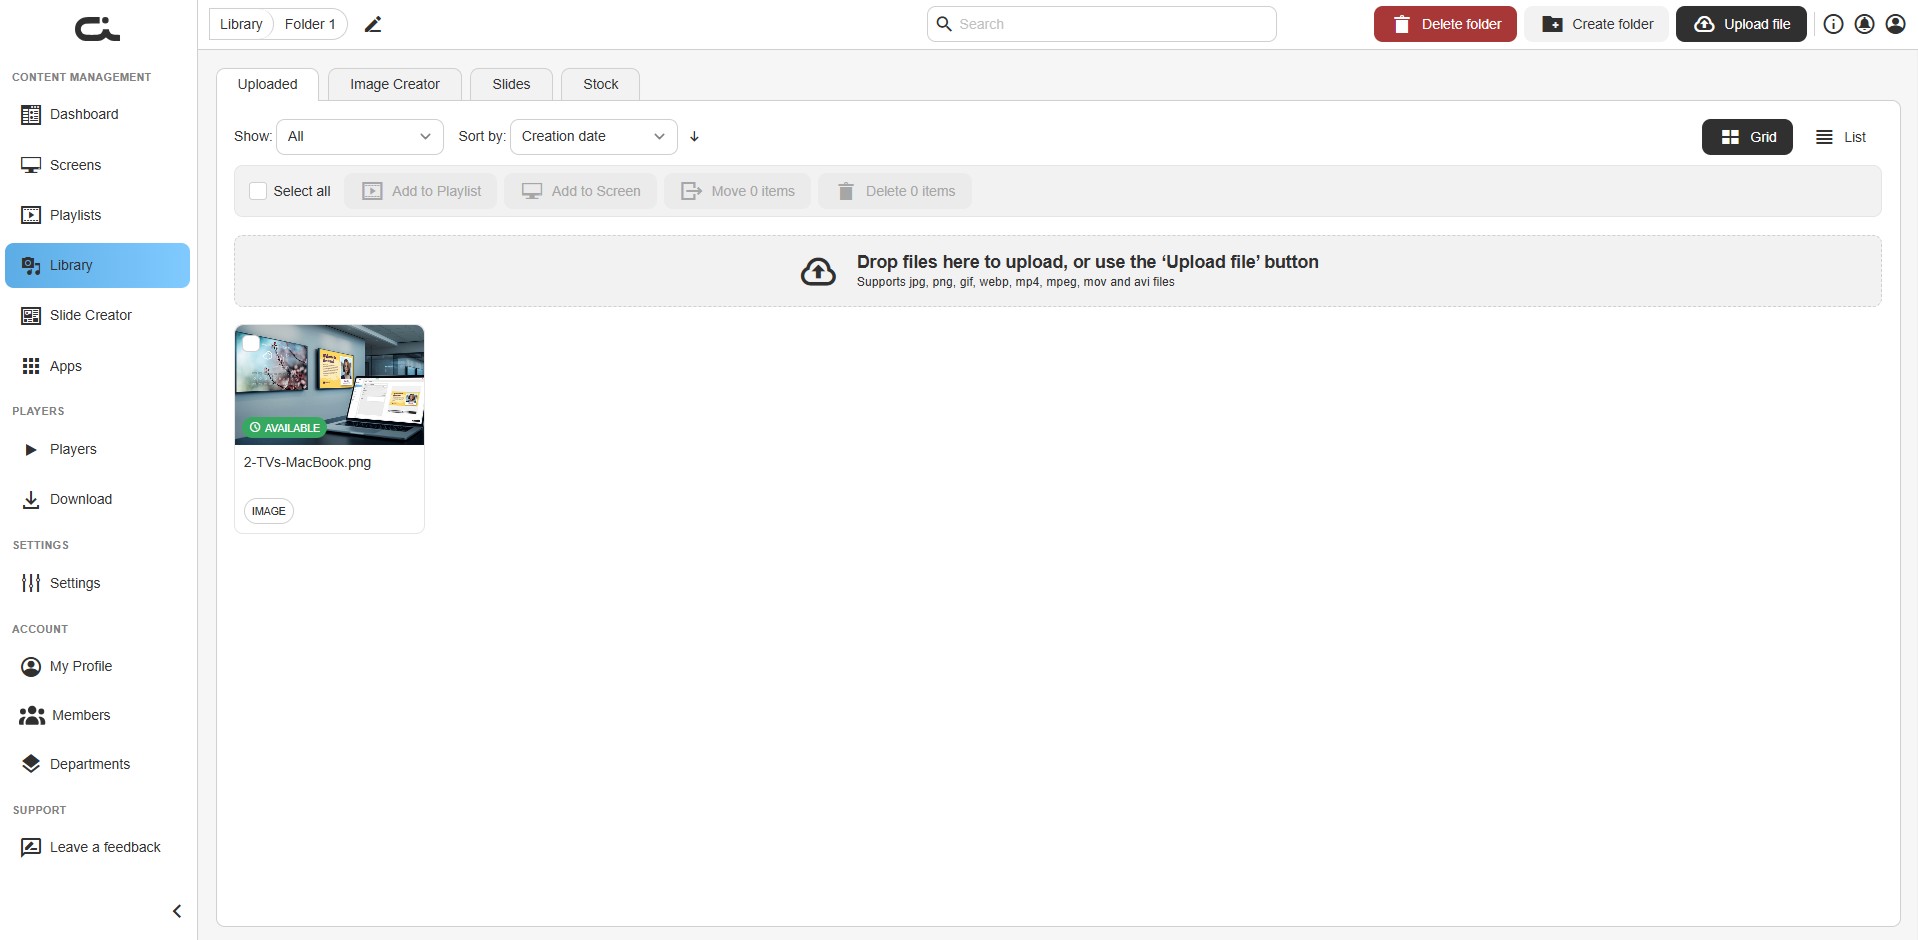
Uploading Content
Method 1: Drag and Drop
- Open the Uploaded tab in the Library
- Drag files from your computer
- Drop them onto the upload area that reads "Drop files here to upload, or use the 'Upload file' button"
- Wait for the upload to complete
Files are added to the folder you're currently viewing.
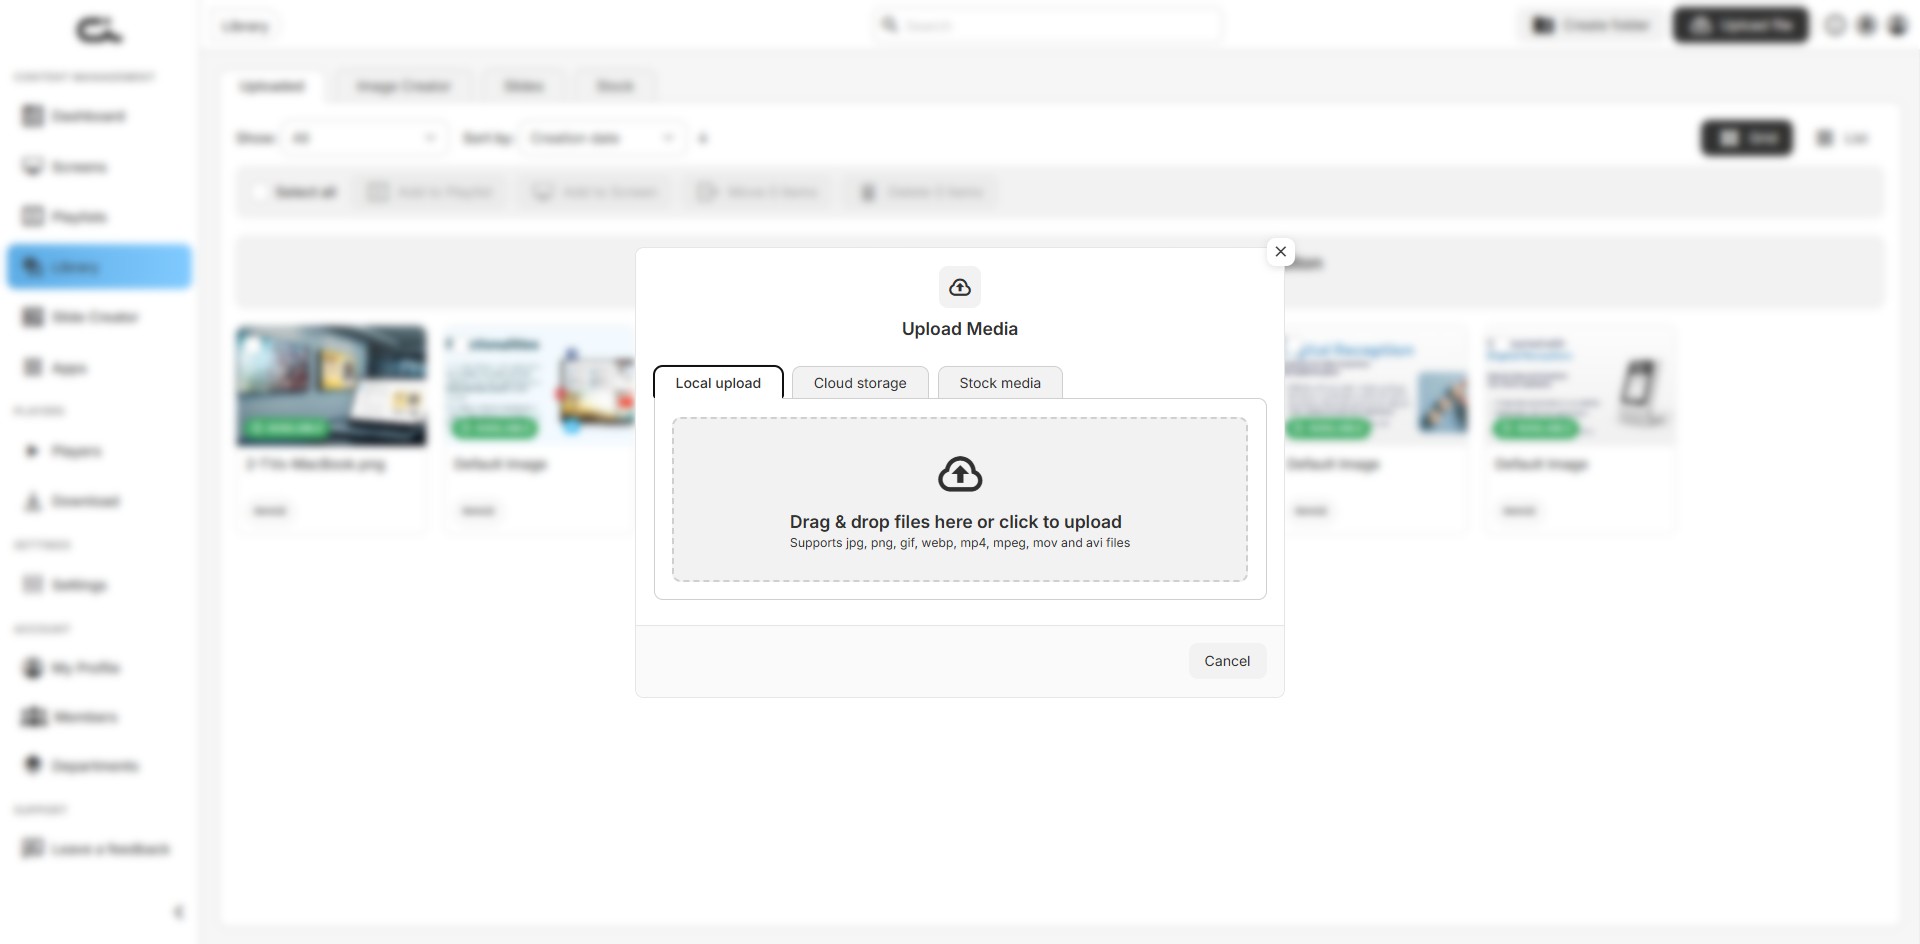
Method 2: Upload File Button
- Open the Uploaded tab in the Library
- Click the Upload file button in the top-right corner
- The Upload Media window opens with three tabs, each a different way to bring content into your library:
Local upload
- Drag and drop files onto the drop zone, or click it to browse your device
- Select one or multiple files
- Files upload immediately to your current folder
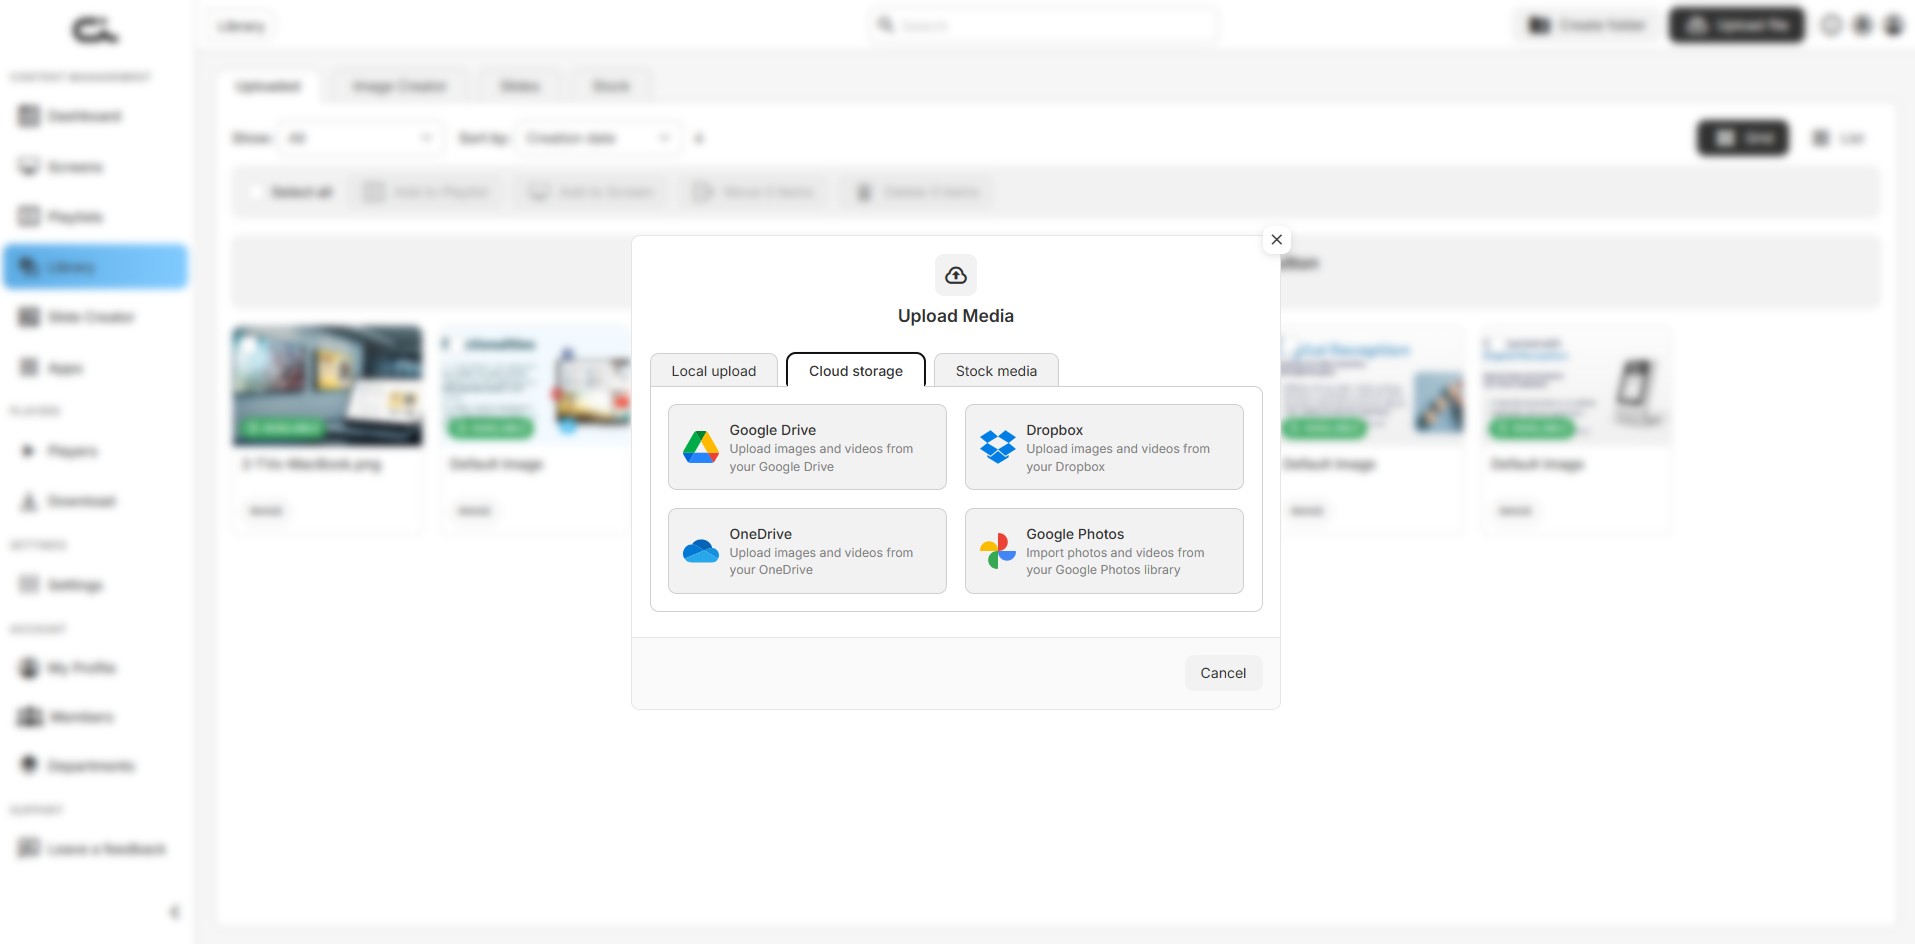
Cloud storage
- Choose from four providers: Google Drive, Dropbox, OneDrive, or Google Photos
- The first time you select a provider, you'll be redirected to sign in with your Google, Microsoft, or Dropbox account and confirm the connection
- Once connected, your cloud files appear inside Castit, ready to browse
- Select the images or videos you want and confirm to add them to your library
- The connection stays linked, so future uploads from the same provider go straight to browsing your files
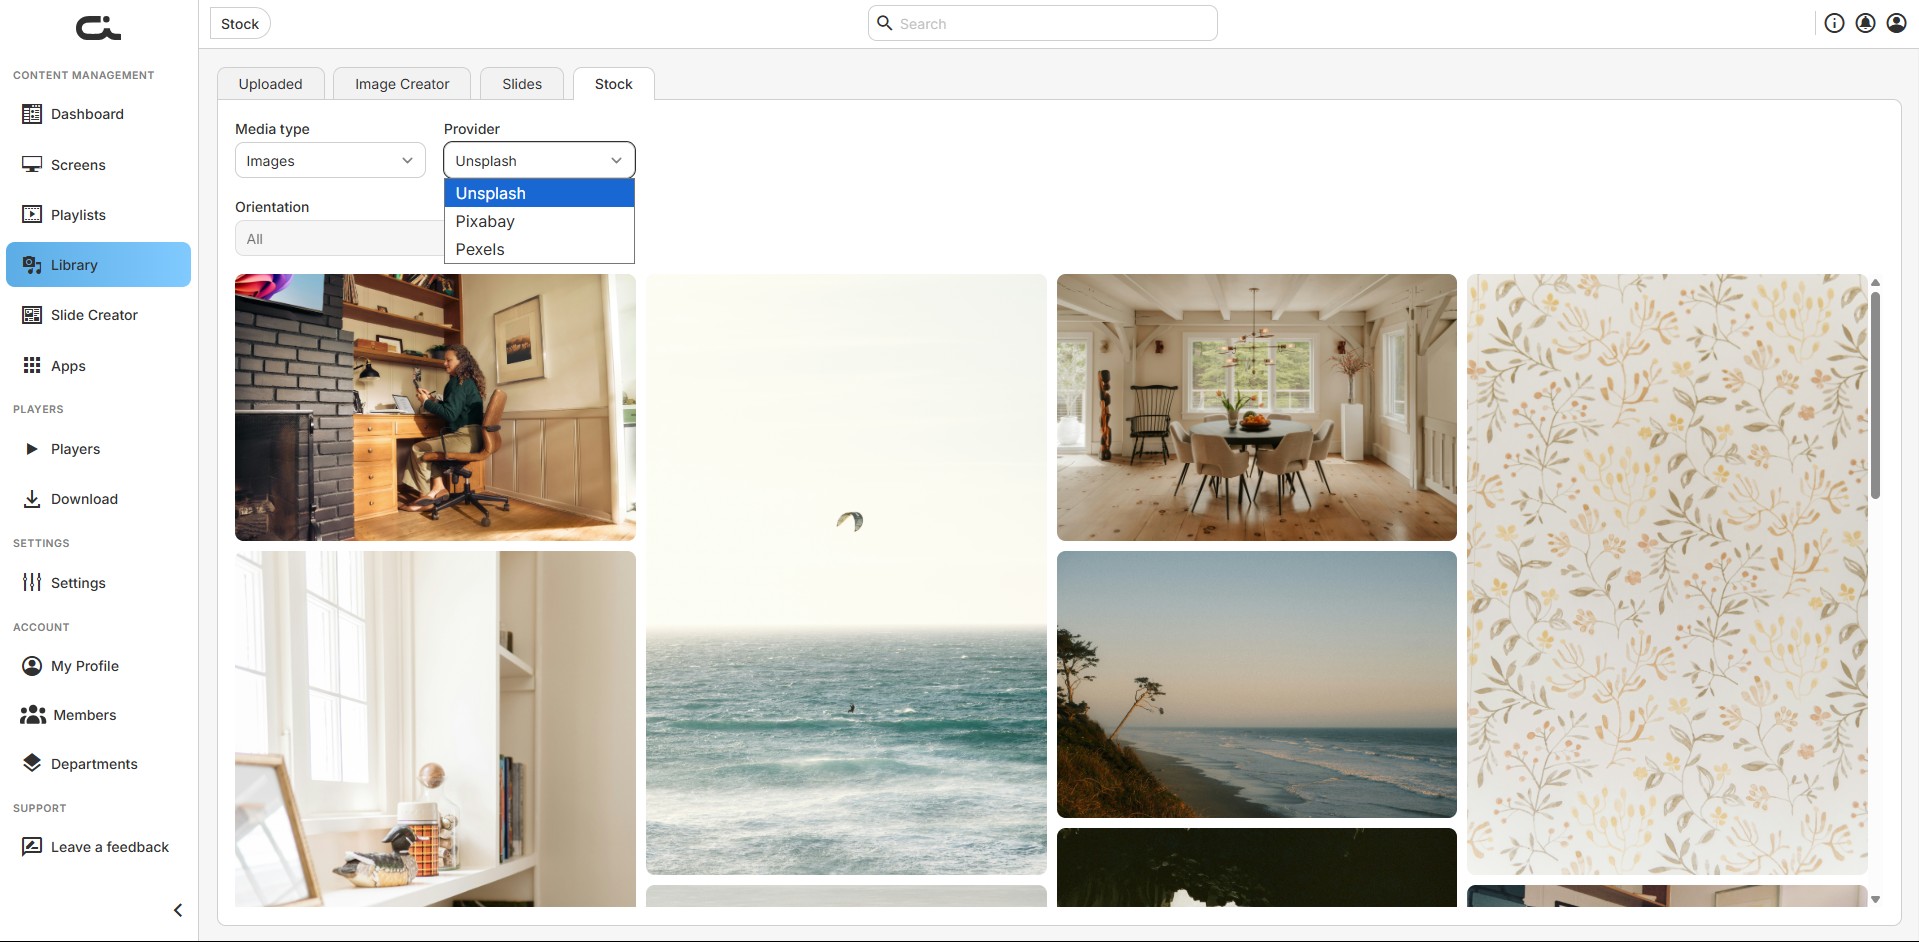
Stock media
- Pull free visuals from trusted providers without leaving Castit
- Choose a Media type first: Images or Videos
- Pick a Provider: Unsplash, Pixabay, or Pexels
- Optionally set an Orientation, then search, browse, select, and add directly to your library

Cloud storage and stock media uploads behave exactly like local files once they're in your library: you can move them between folders, rename, preview, and add them to playlists or screens.
Bulk Upload
You can upload multiple files at once:
- Select multiple files in the file browser, or
- Drag and drop multiple files onto the upload area
All files upload to your current folder.
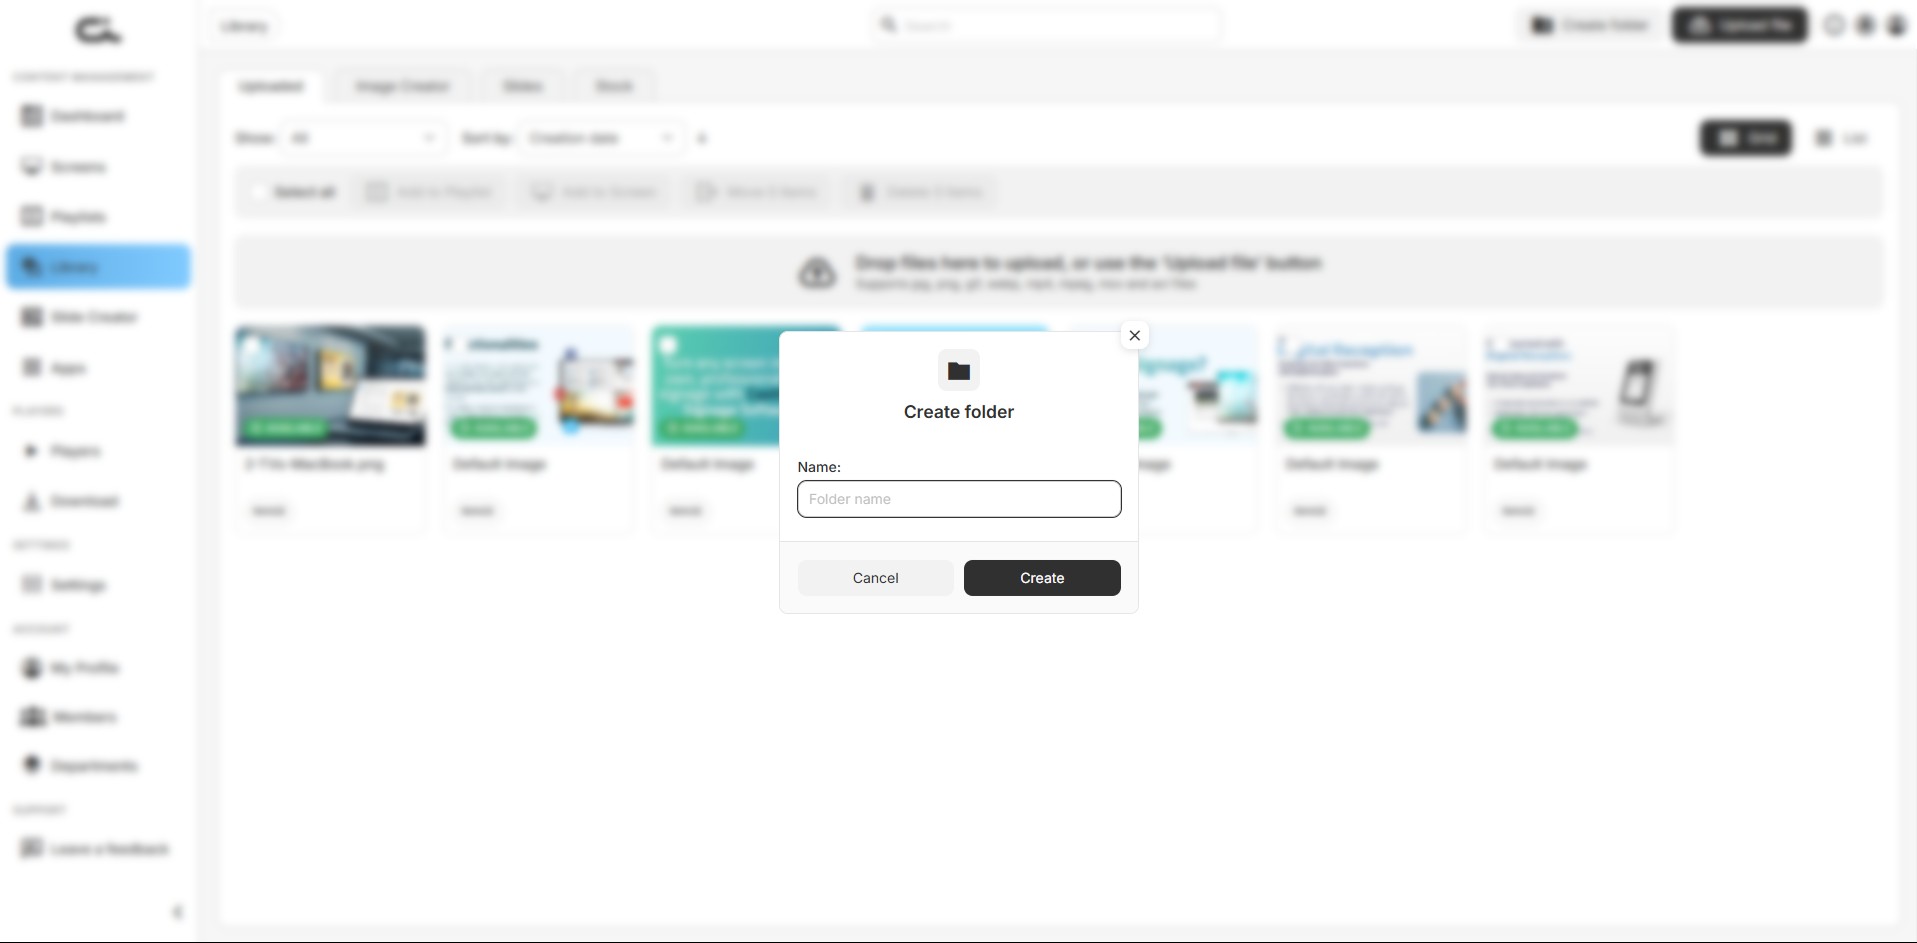
Organizing Content with Folders
Creating Folders
- Click the Create folder button in the top bar
- Enter a name in the Name field
- Click Create
Navigating Folders
- Click a folder to open it and view its contents
- Use the breadcrumb at the top (e.g. "Library / Folder 1") to navigate back, or the pencil icon to rename the folder
- Inside a folder, the top bar shows a Delete folder button, plus Create folder and Upload file so you can build subfolders and upload directly into the folder
Folder Actions Menu
Hover a folder and click the ⋮ (more) menu in its corner to Rename folder or Delete it.
Best Practices for Folders
- Create folders by campaign, client, or content type
- Use clear, descriptive folder names
- Organize content as you upload it to maintain structure
- Nest folders for more complex organization
Filtering and Sorting Content
Show
Use the Show: dropdown to choose what appears:
- All — files and folders
- Files — files only
- Folders — folders only
Sort
Use the Sort by: dropdown to order your view by Creation date (default) or Name, and use the arrow button next to it to toggle ascending/descending.
View Toggle
Switch between Grid and List views using the toggle in the top-right corner.
Search
Use the search bar at the top to quickly find content by name.
Working With Content Items
Item Actions Menu
Hover a content item and click the ⋮ (more) menu in its corner to:
- Edit — open the item's detail page (File info and Availability)
- Preview — view the item
- Delete — remove the item
- Move — move it to another folder
- Download — download the original file
- Add to playlist / Add to screen — place it directly
Bulk Actions
Tick the checkbox on items (or click Select all) to act on several at once using the bar above the grid: Add to Playlist, Add to Screen, Move N items, or Delete N items.
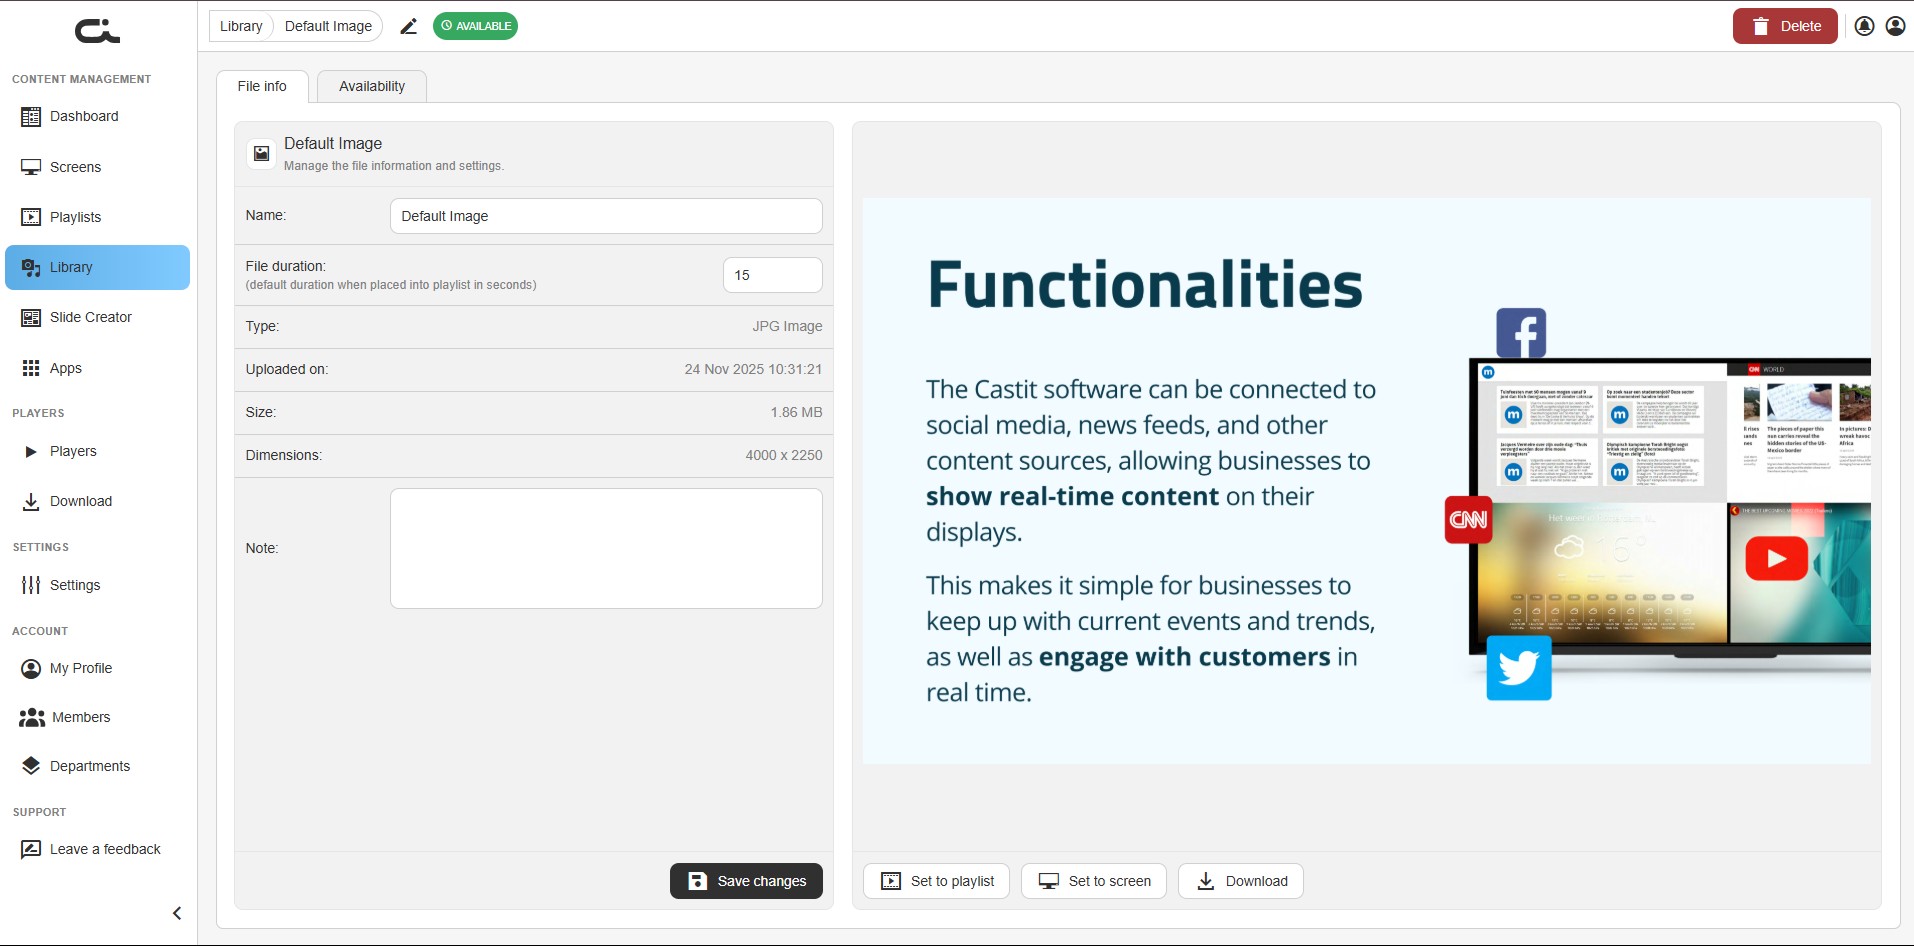
File Info
Open an item to reach its File info tab. The left panel shows editable and read-only details; the right panel previews the file.
- Name — rename the file
- File duration — default number of seconds the item plays when added to a playlist
- Type, Uploaded on, Size, Dimensions — read-only metadata
- Note — free-text note
- Save changes to apply, or use Set to playlist, Set to screen, or Download from the preview panel
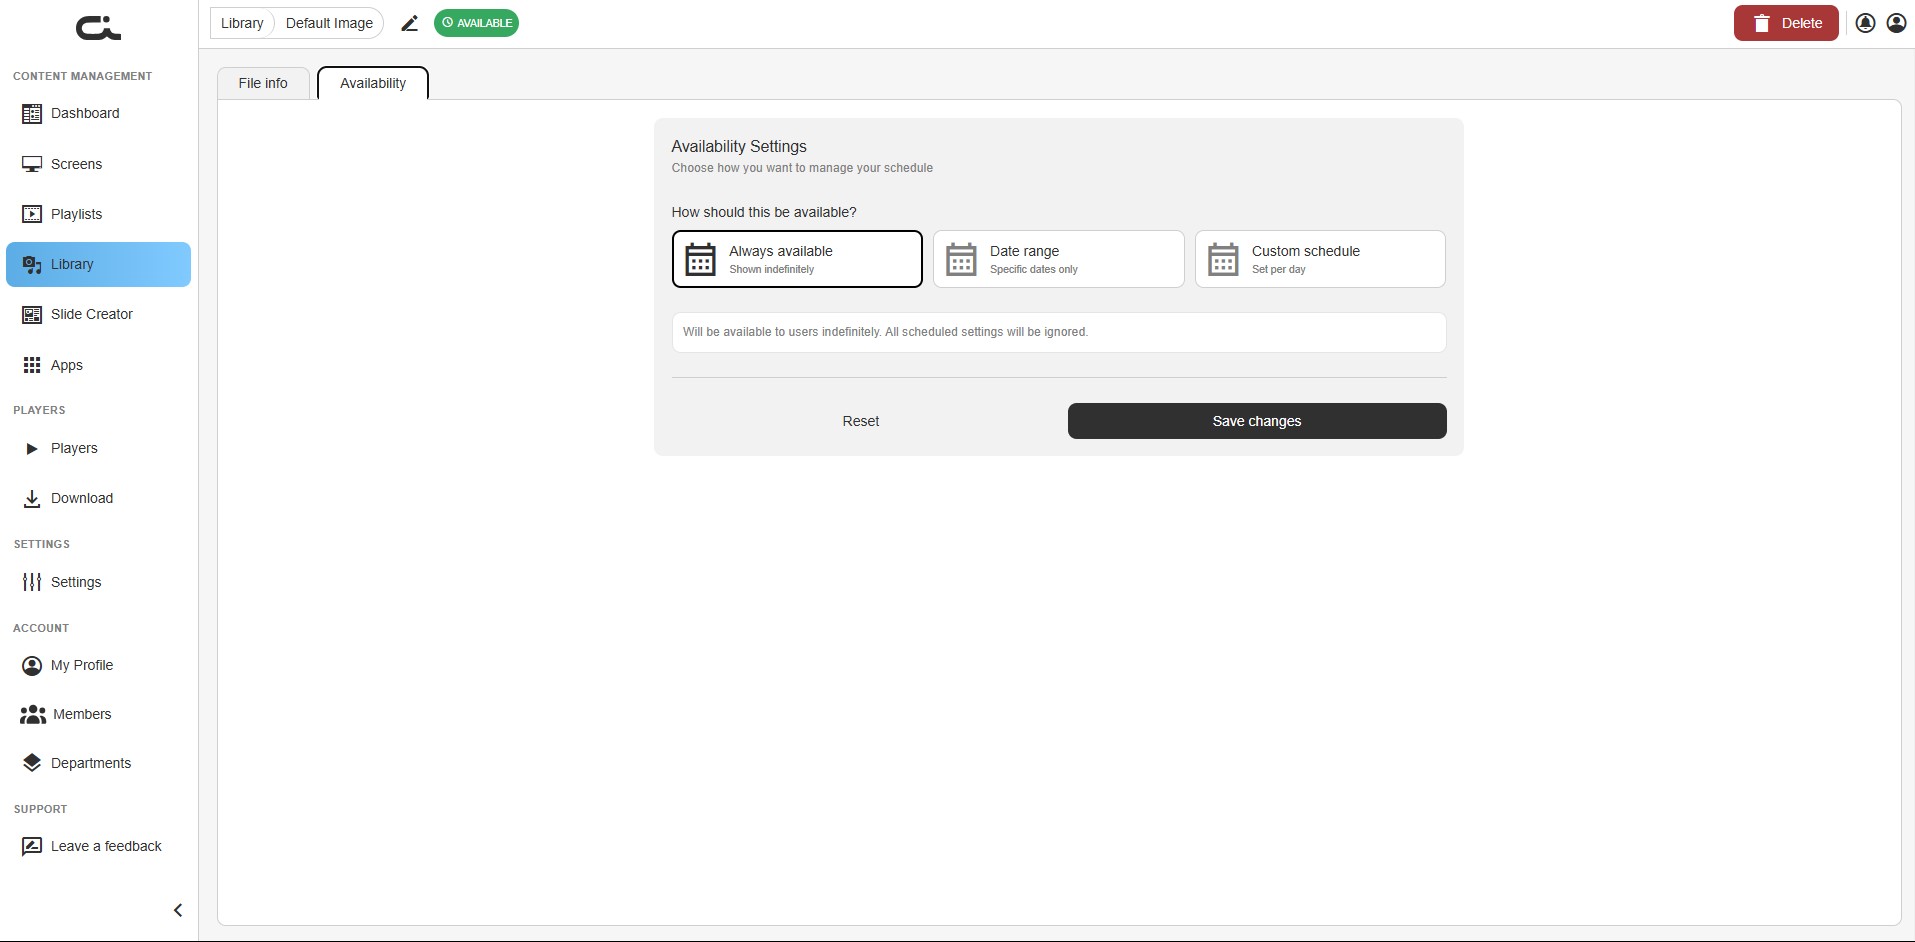
Availability
The Availability tab controls when the item is active:
- Always available — shown indefinitely; scheduled settings are ignored
- Date range — available only within specific start/end dates
- Custom schedule — set availability times per day
Click Save changes to apply, or Reset to revert.
Deleting content is permanent. Make sure the content isn't currently in use on any screens or playlists before deleting it.
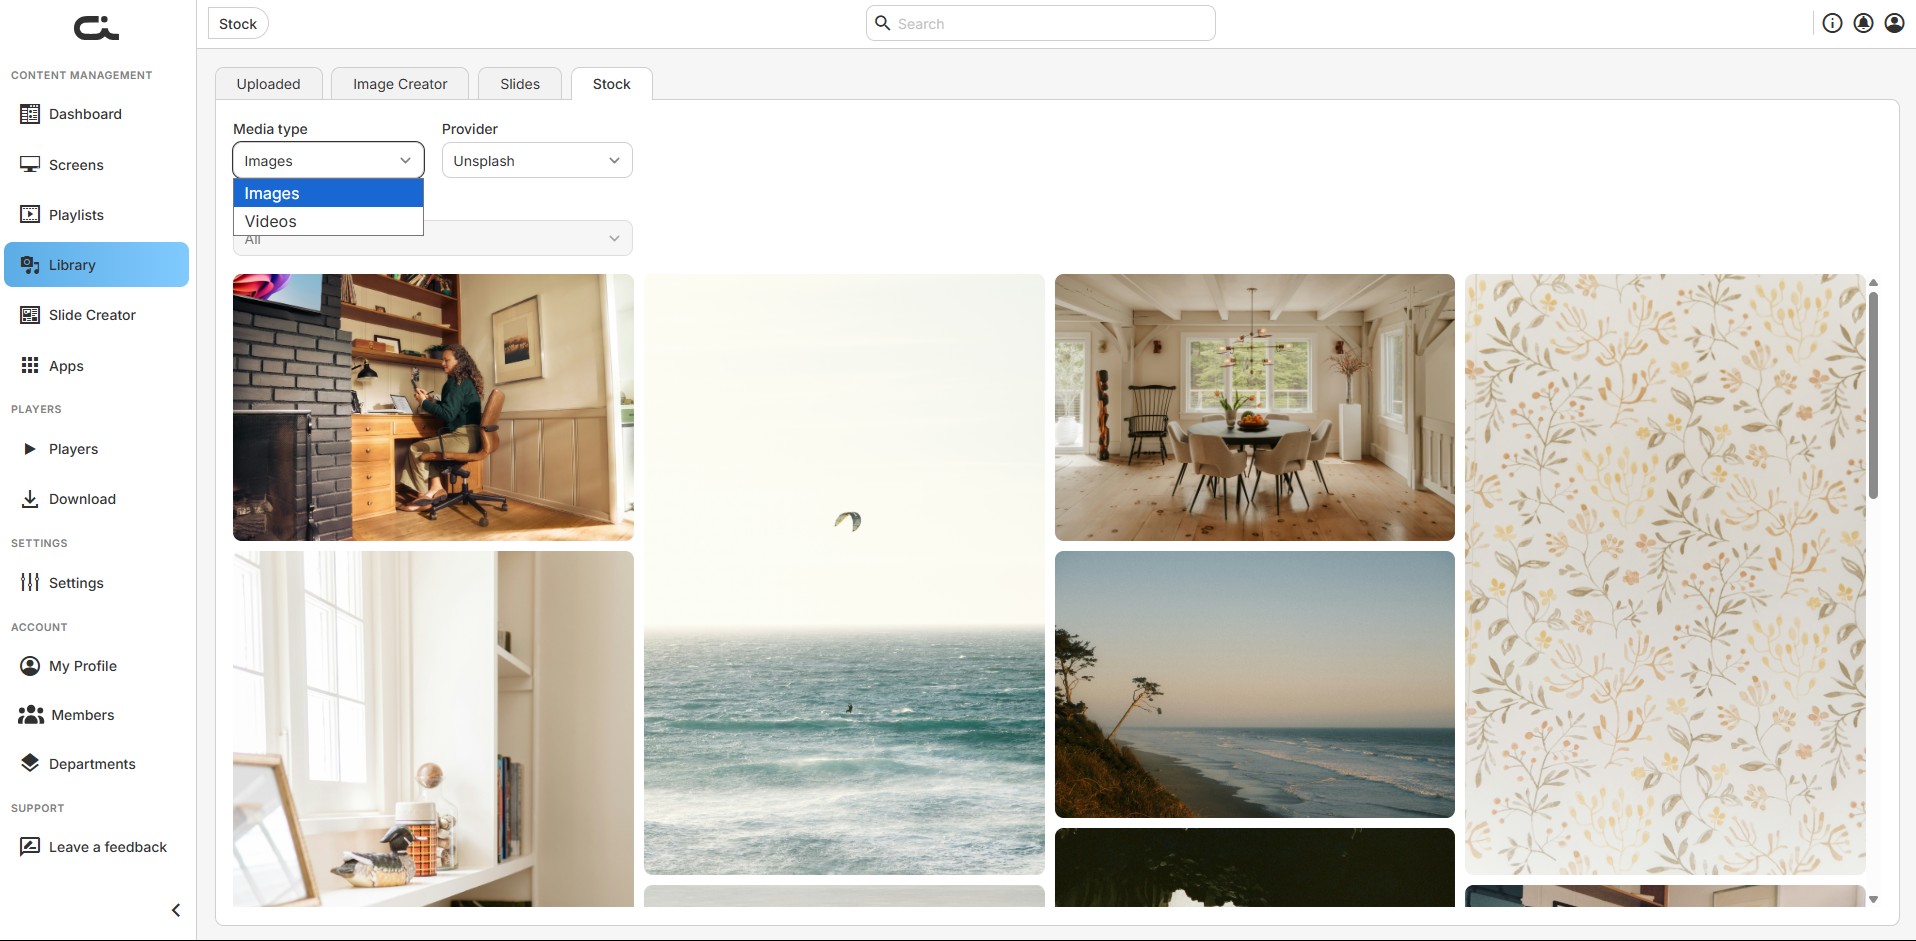
Using the Stock Library
Access free stock photos and videos without leaving Castit:
- Click the Stock tab in the Library
- Choose a Media type (Images or Videos) and a Provider (Unsplash, Pixabay, or Pexels)
- Optionally set an Orientation and use the search field to find specific visuals
- Select content to add it to your library or place it directly on screens and playlists
Stock content gives you ready-to-use, professional media without sourcing your own images or videos.
Creating Custom Slides
Create custom-designed slides with text, graphics, and branding:
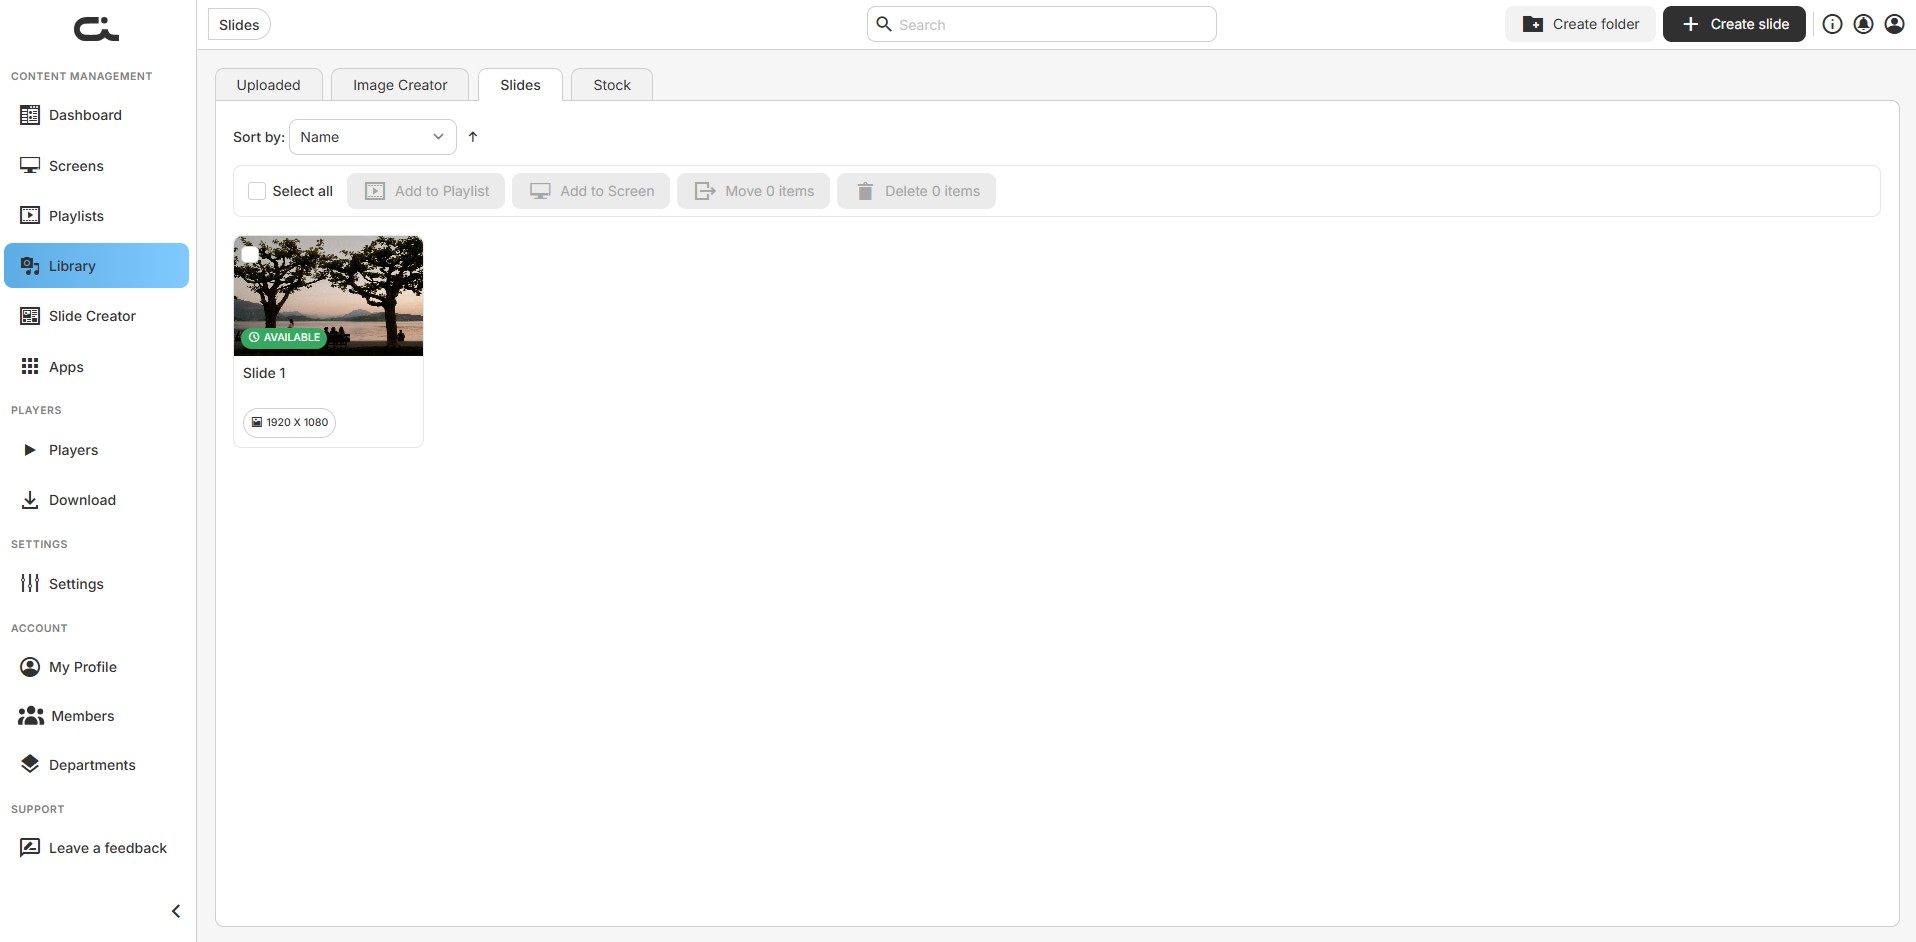
- Click the Slides tab in the Library
- Click the Create slide button
- Design your content in the Slide Creator
- Save the slide to use it on screens and in playlists
Each saved slide appears as a card with its name and resolution (e.g. 1920 x 1080).
See the Slide Creator guide for detailed instructions on designing custom slides.
Best Practices
- Use descriptive file names before uploading to make content easy to identify
- Organize immediately — create folders and move content as you upload
- Regular maintenance — review and remove unused content periodically
- Optimize file sizes — compress large videos and images for faster loading
- Test content — preview content before deploying to screens
- Use folders strategically — organize by campaign, season, client, or content type
- Leverage stock media — use stock content for quick professional results