Using the Slide Creator
The Slide Creator is a powerful built-in design tool that lets you create custom slides for your screens without needing external design software.
Overview
The Slide Creator provides a canvas-based editor with professional design tools to create:
- Text-based announcements
- Promotional graphics
- Informational displays
- QR code slides
- Custom branded content
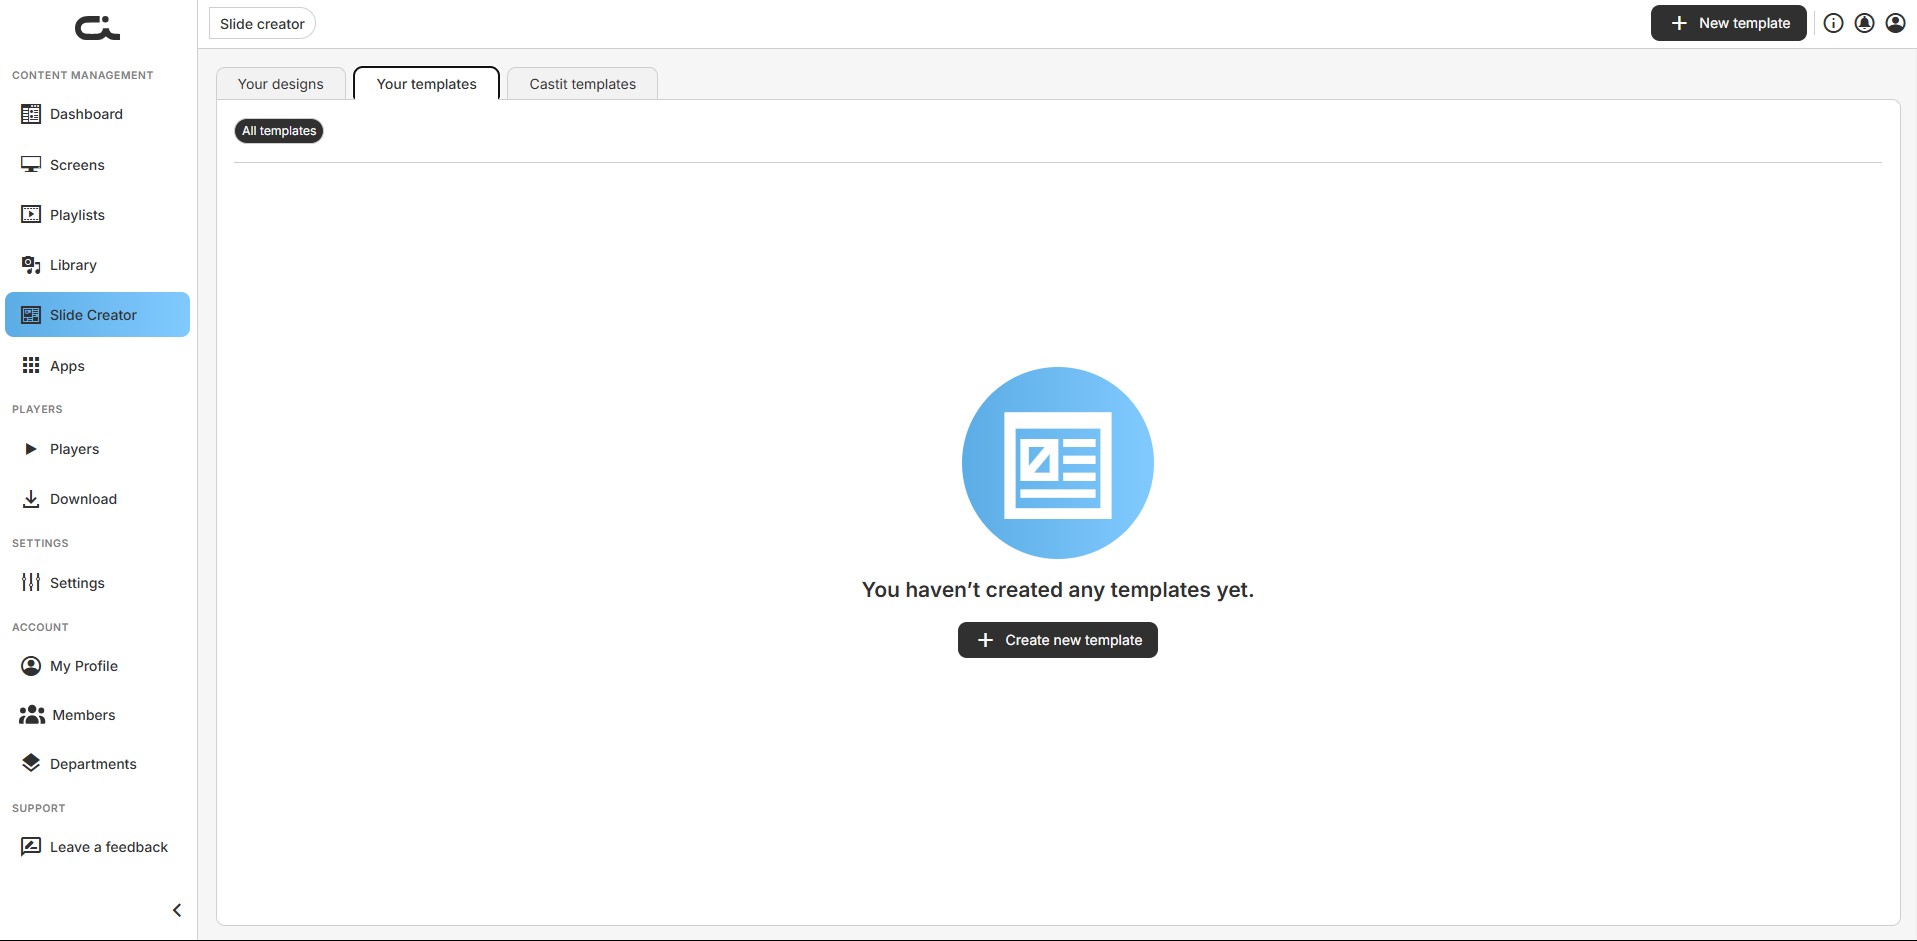
Accessing the Slide Creator
- Click Slide Creator in the left sidebar navigation
- You'll see three tabs:
- Your designs: Your saved slide designs
- Your templates: Reusable templates you've created
- Castit templates: Ready-made templates from Castit
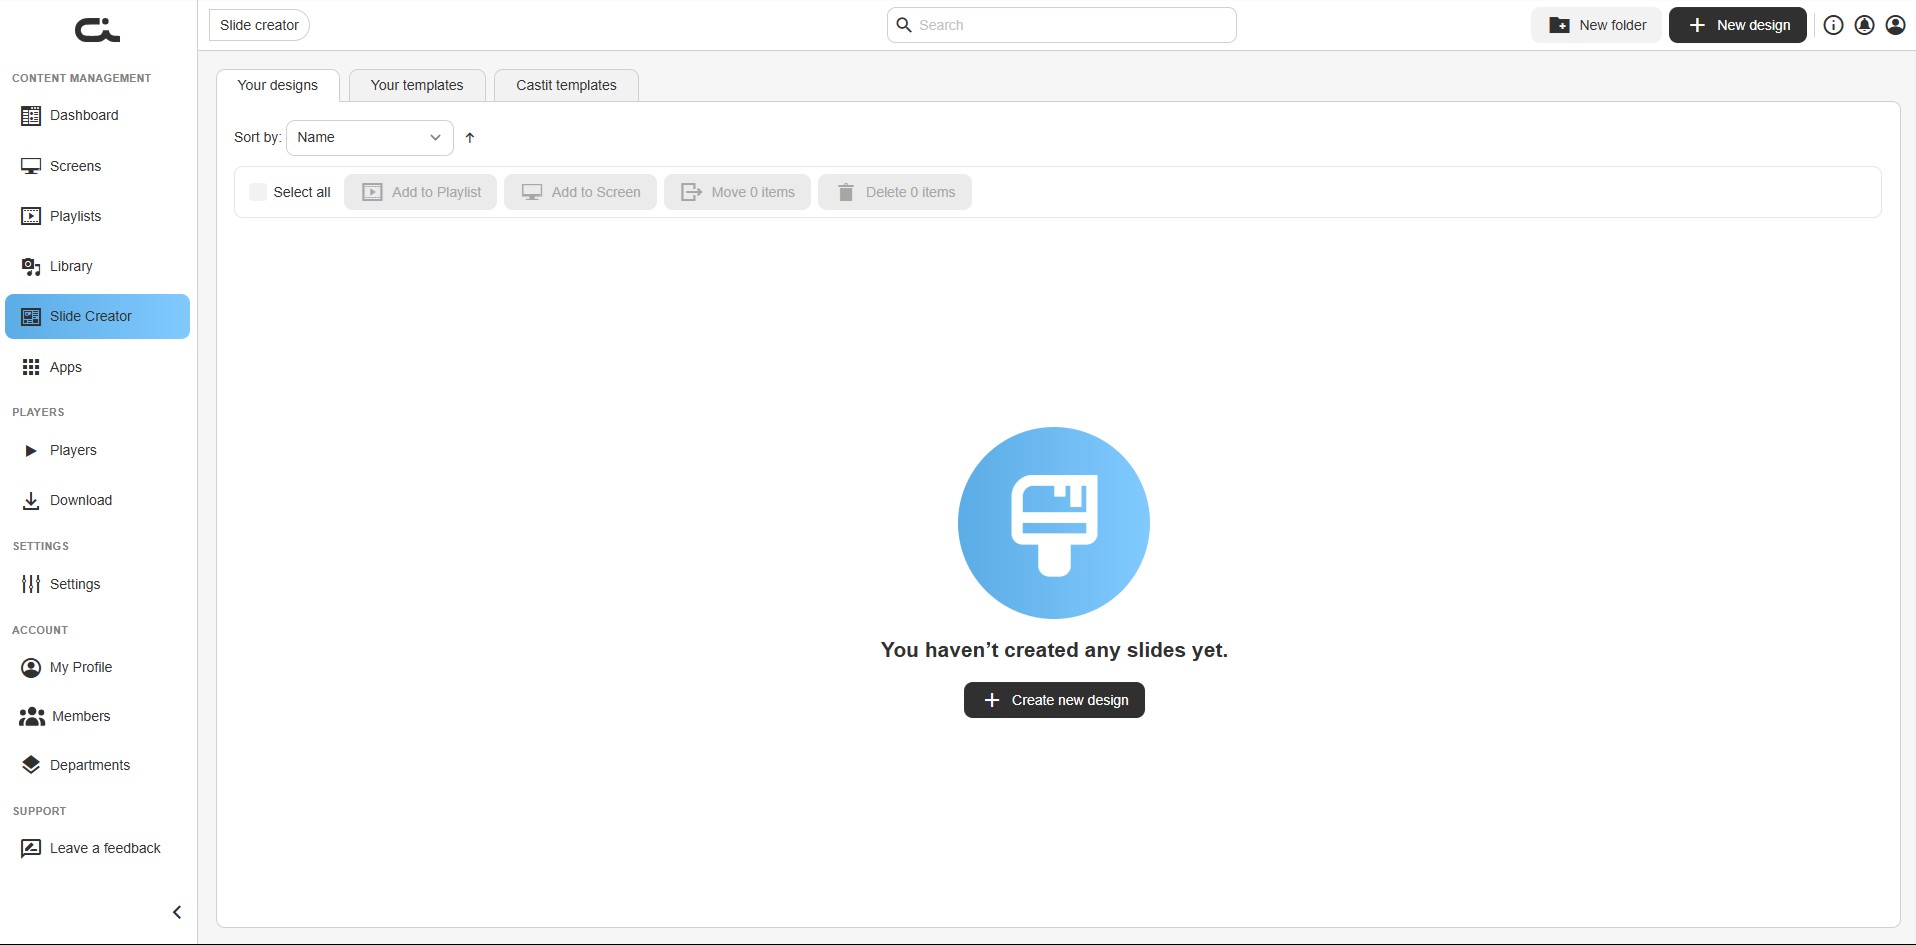
The top bar holds the Search field, a New folder button, and the New design button. Above your designs you'll find a Sort by control and a bulk-action bar (Select all, Add to Playlist, Add to Screen, Move, Delete) for working with several designs at once.
Once you've saved designs, each appears as a card with a thumbnail, an AVAILABLE badge, its name, and its resolution (e.g. 1920 x 1080).
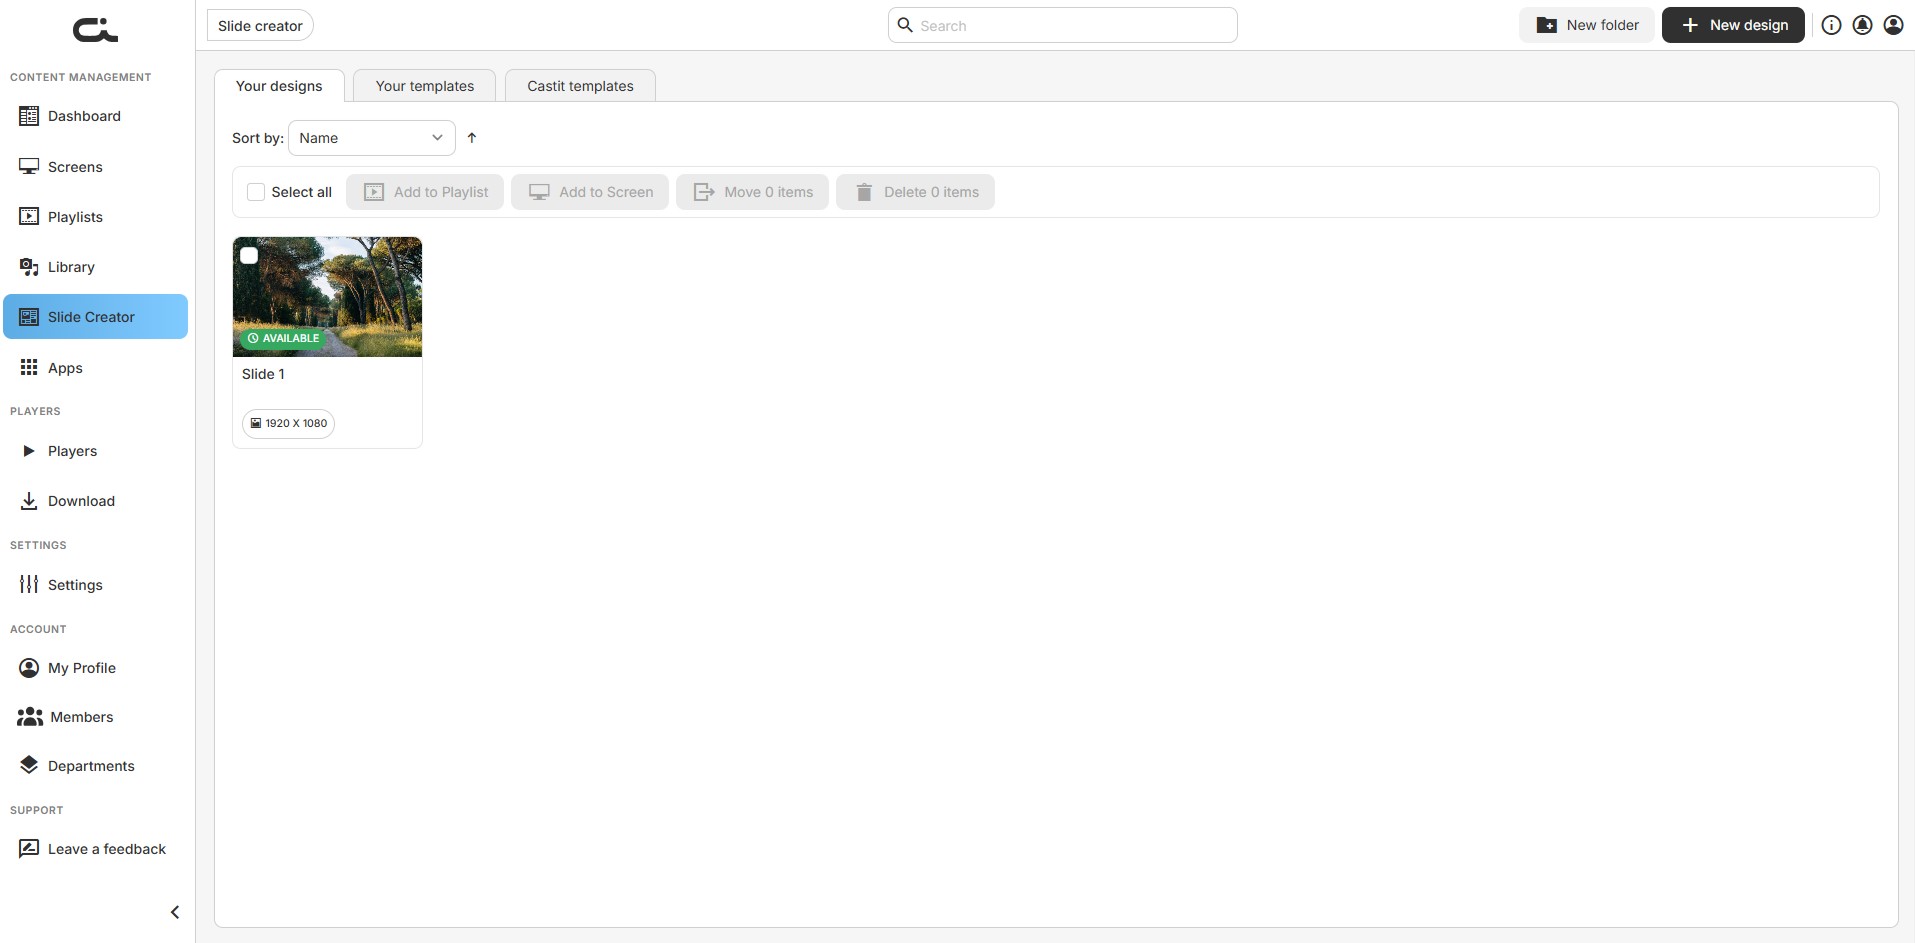
Managing a Saved Design
Hover a design card and click the ⋮ (more) menu to Edit, Preview, Move, Delete, or Add to screen / Add to playlist.
Getting Started
Creating a New Design
- Click the New design button in the top-right corner (or Create new design in the empty state)
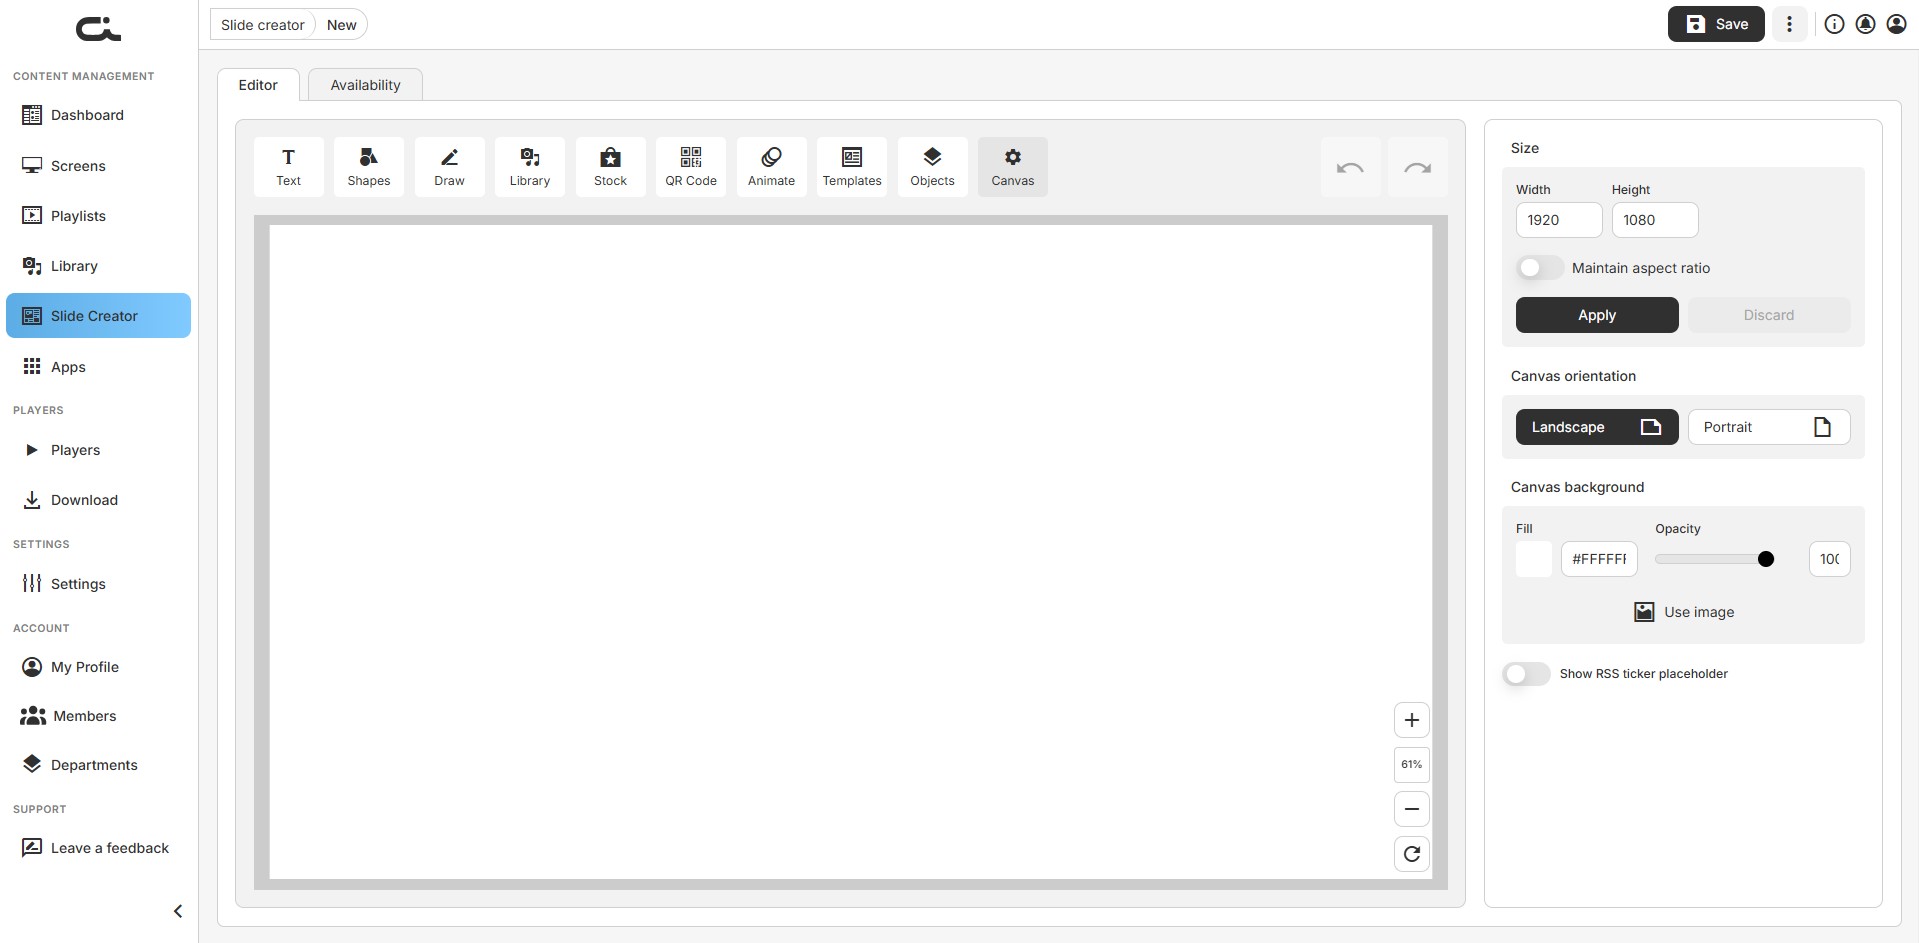
- The editor opens with a blank canvas
- Use the toolbar above the canvas to add elements to your slide
The editor is organized into two tabs — Editor (the design canvas) and Availability (when the slide is active). Your work is kept with the Save button in the top-right, next to a ⋮ menu for additional actions.
Using Templates
Templates help you create professional slides quickly:
- Click the Your templates or Castit templates tab
- Browse available templates — Castit templates can be filtered by category (All templates, Menu, Restaurant/Cafe, Business, Events, Holidays, and more)
- Click a template to start designing with it
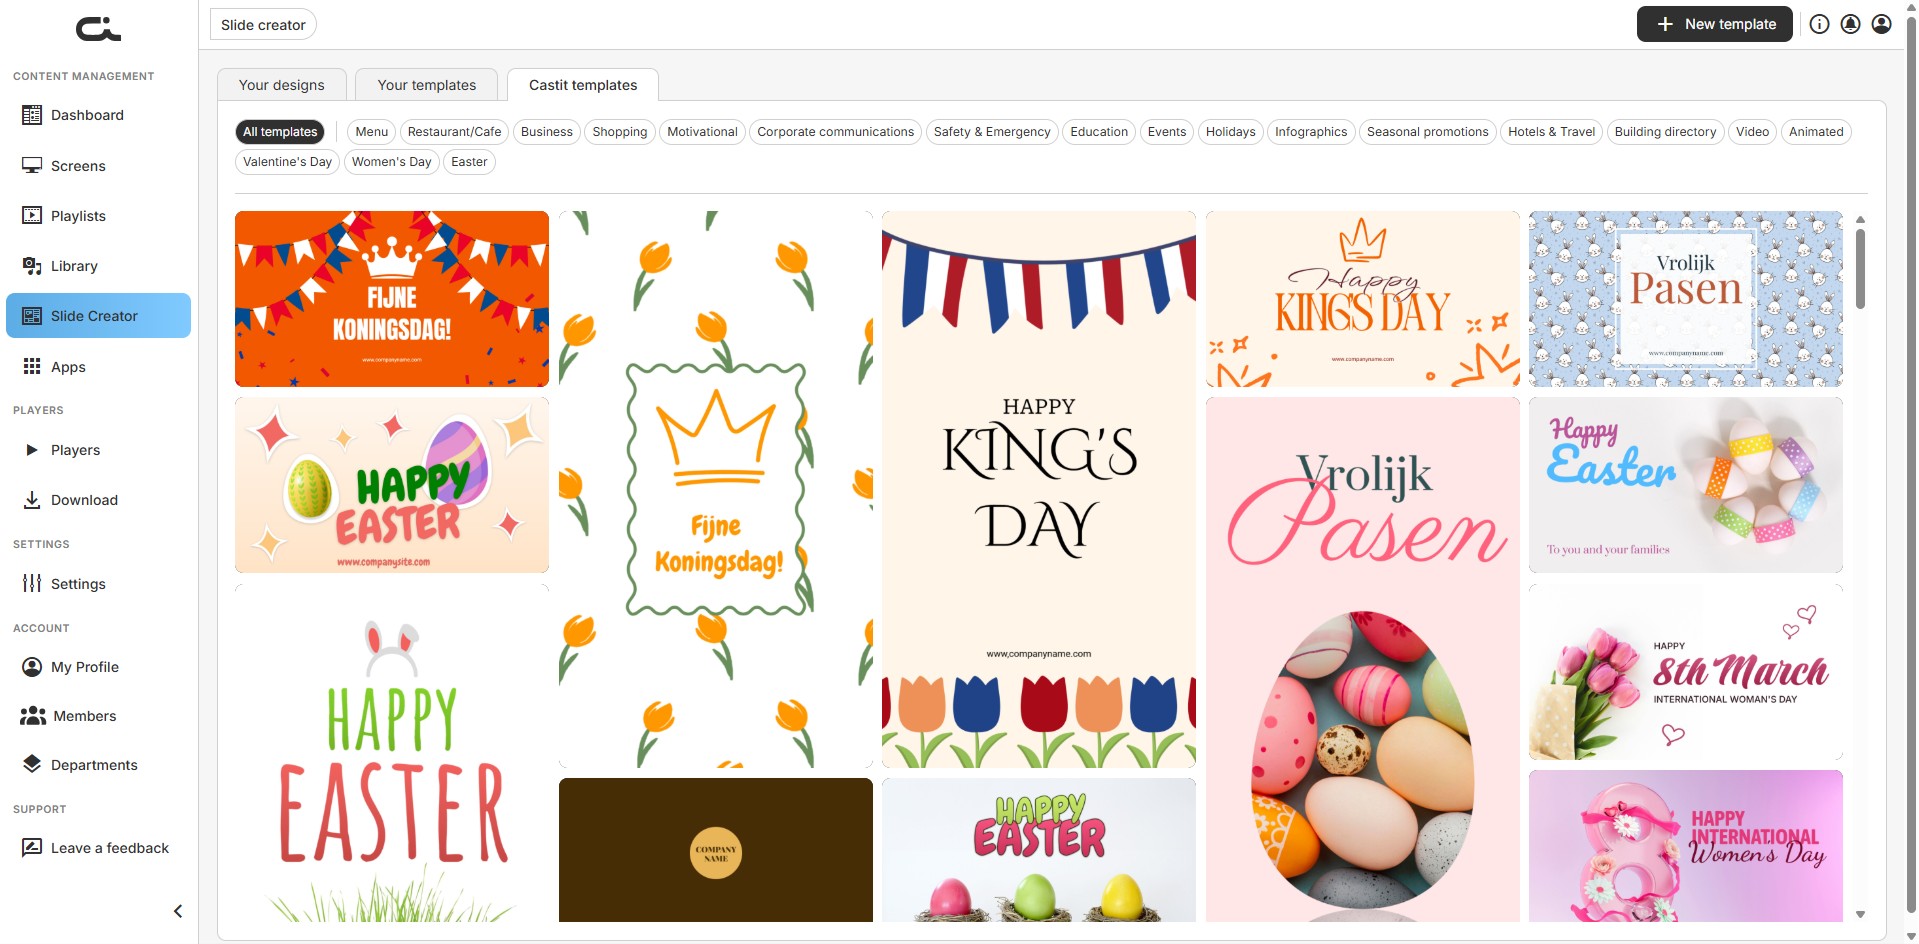
You can also create your own template from the Your templates tab with the New template button, then reuse it for future slides.
Editor Tools
The toolbar above the canvas provides ten tools, in this order: Text, Shapes, Draw, Library, Stock, QR Code, Animate, Templates, Objects, Canvas. Use the undo and redo arrows at the top-right of the toolbar to step through your changes.
When you select an object on the canvas, a small floating toolbar appears above it with quick actions: duplicate, lock, delete, and a ⋮ menu.
Text Tool
Add and format text elements on your slide.
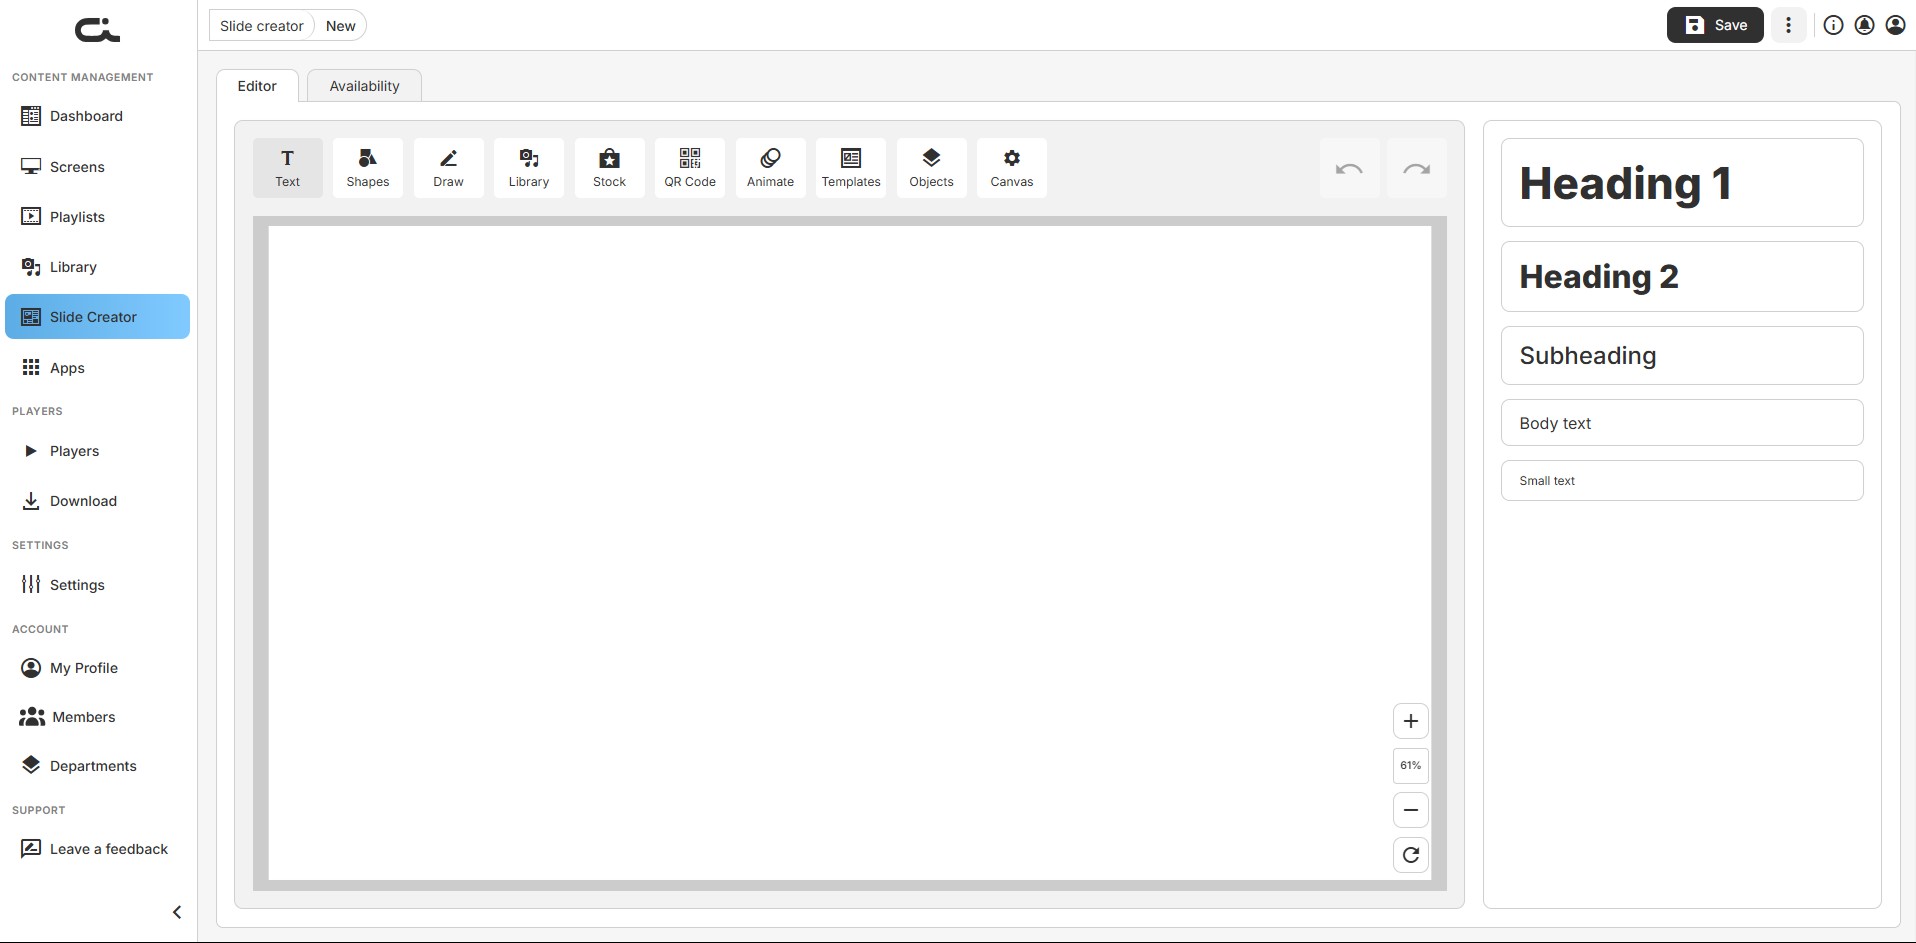
Text styles:
- Heading 1: Large primary headings
- Heading 2: Secondary headings
- Subheading: Subtitle text
- Body text: Regular paragraph text
- Small text: Fine print or captions
Once a text element is selected, the right panel offers two tabs — Appearance and Size & Position.
Appearance tab:
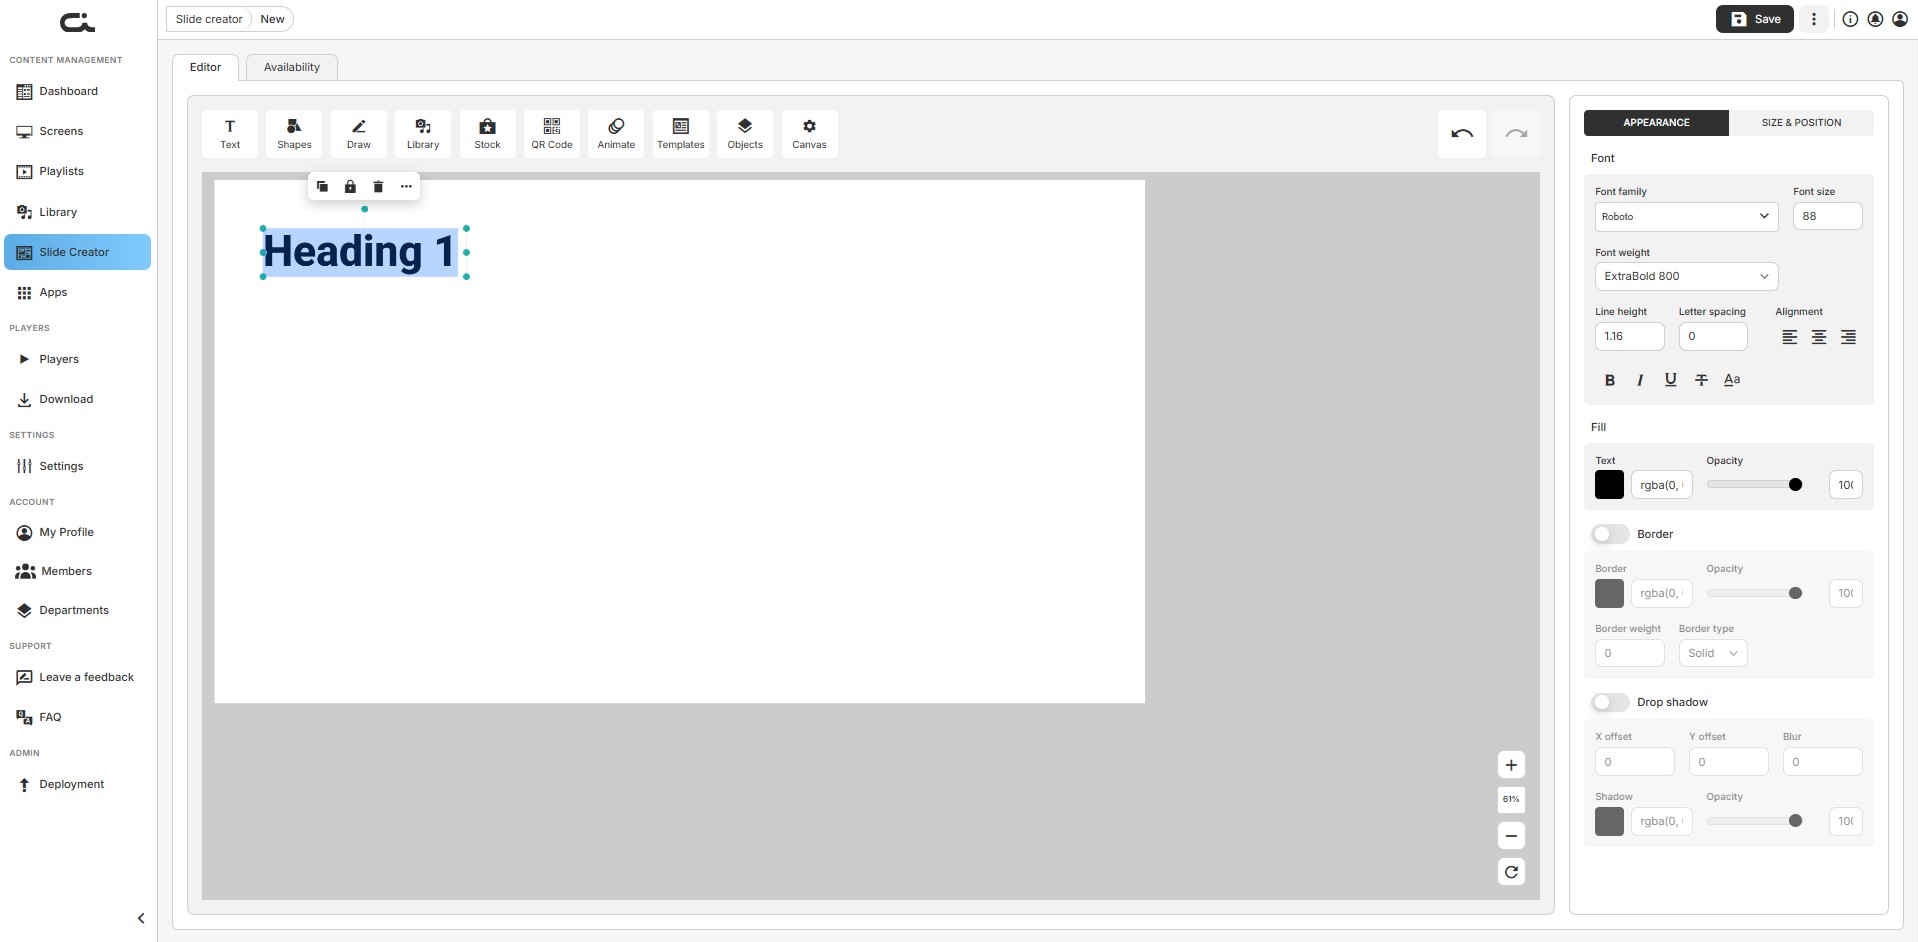
- Font: Font family, Font size, Font weight, Line height, Letter spacing, Alignment, and formatting (Bold, Italic, Underline, Strikethrough, Font case)
- Fill: Text color, hex input, and Opacity
- Border: Toggle on, then set border color, opacity, weight, and type (Solid, Dashed, etc.)
- Drop shadow: Toggle on, then set X offset, Y offset, Blur, shadow color, and opacity
Size & Position tab:
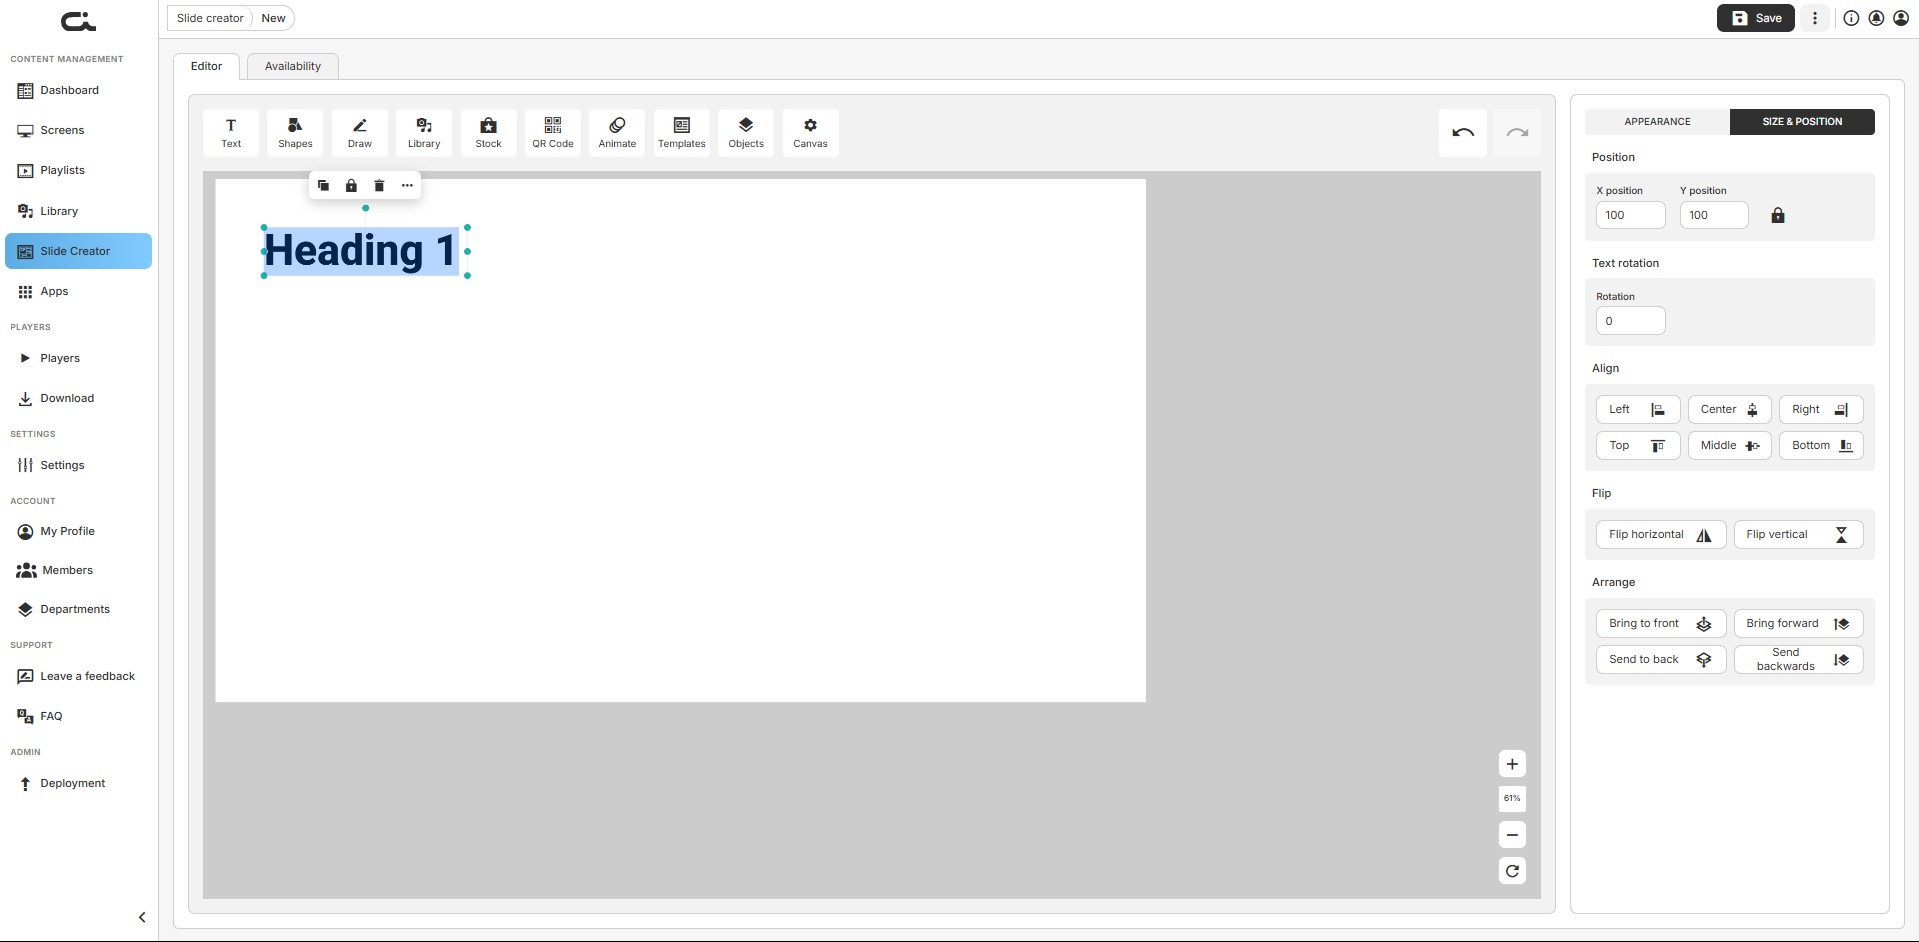
- Position: X and Y position, with a lock to keep them together
- Text rotation: Rotation angle
- Align: Left, Center, Right, Top, Middle, Bottom
- Flip: Flip horizontal or vertical
- Arrange: Bring to front, Bring forward, Send to back, Send backwards
The Size & Position tab is available for any selected object, not just text.
Shapes Tool
Add geometric shapes and icons to your designs.
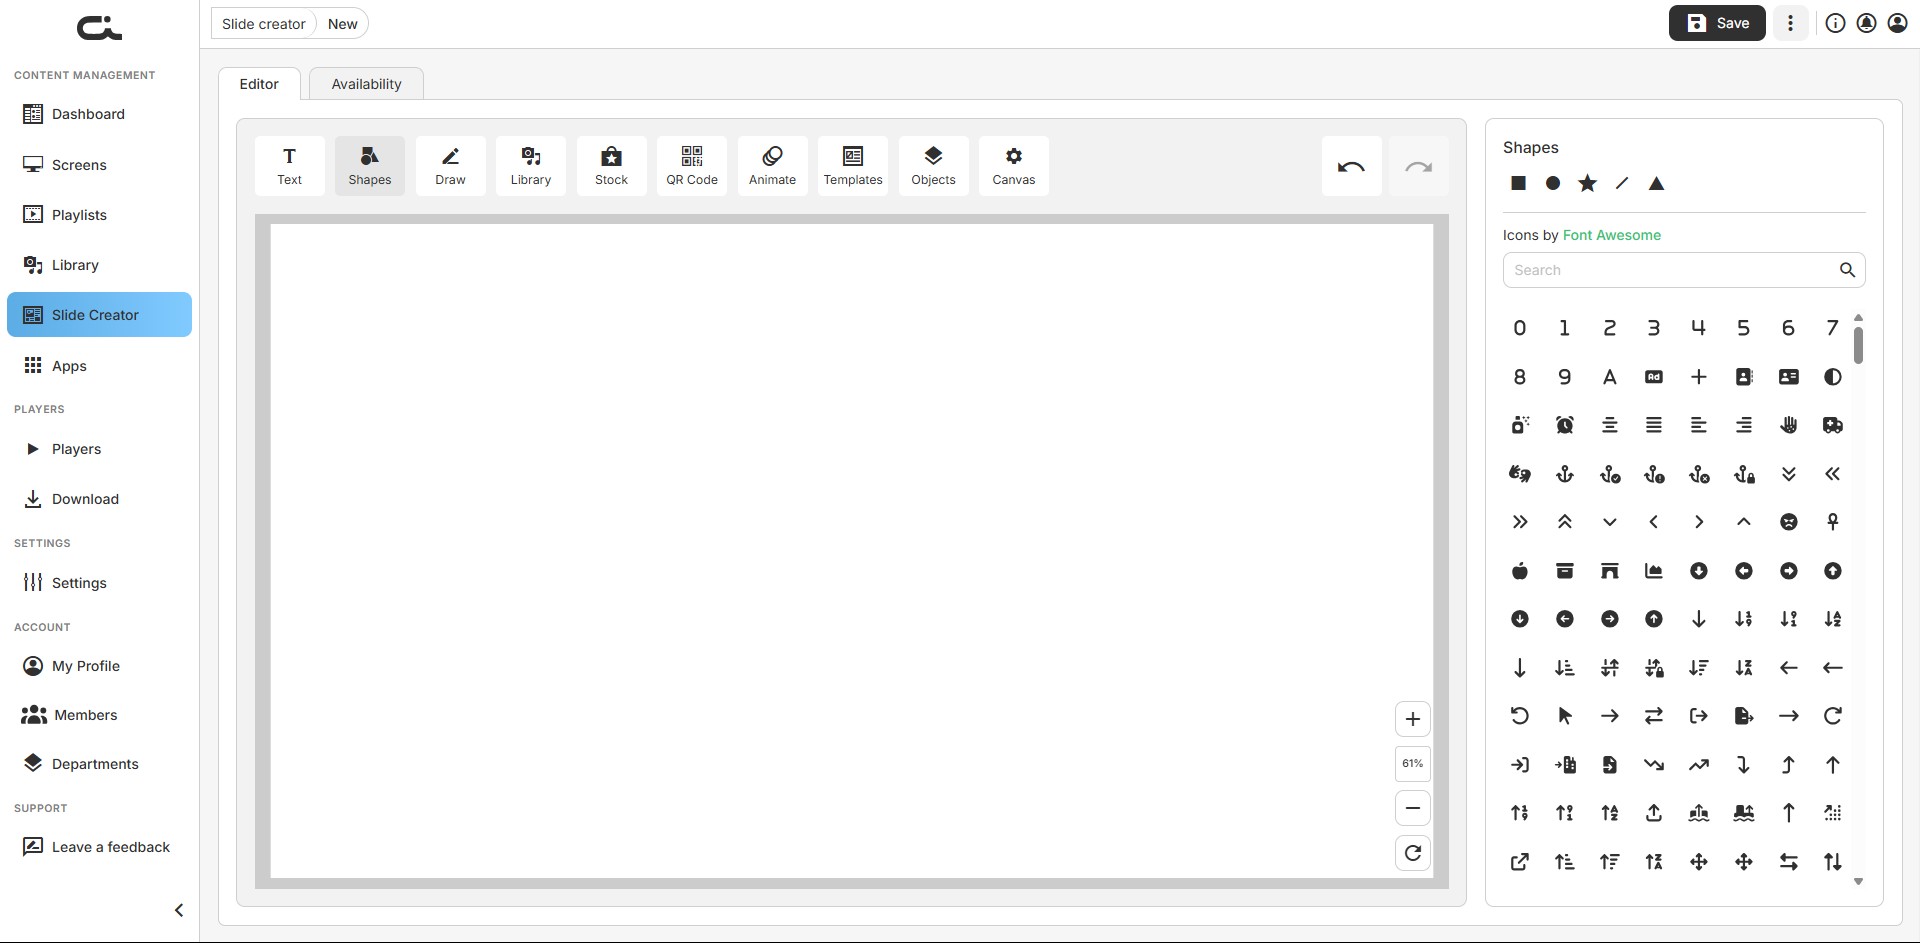
- Shapes: Square, Circle, Star, Line, Triangle
- Icons: A searchable icon library by Font Awesome — search by keyword for numbers, letters, arrows, symbols, and more
Draw Tool
Freehand drawing for custom illustrations and annotations.
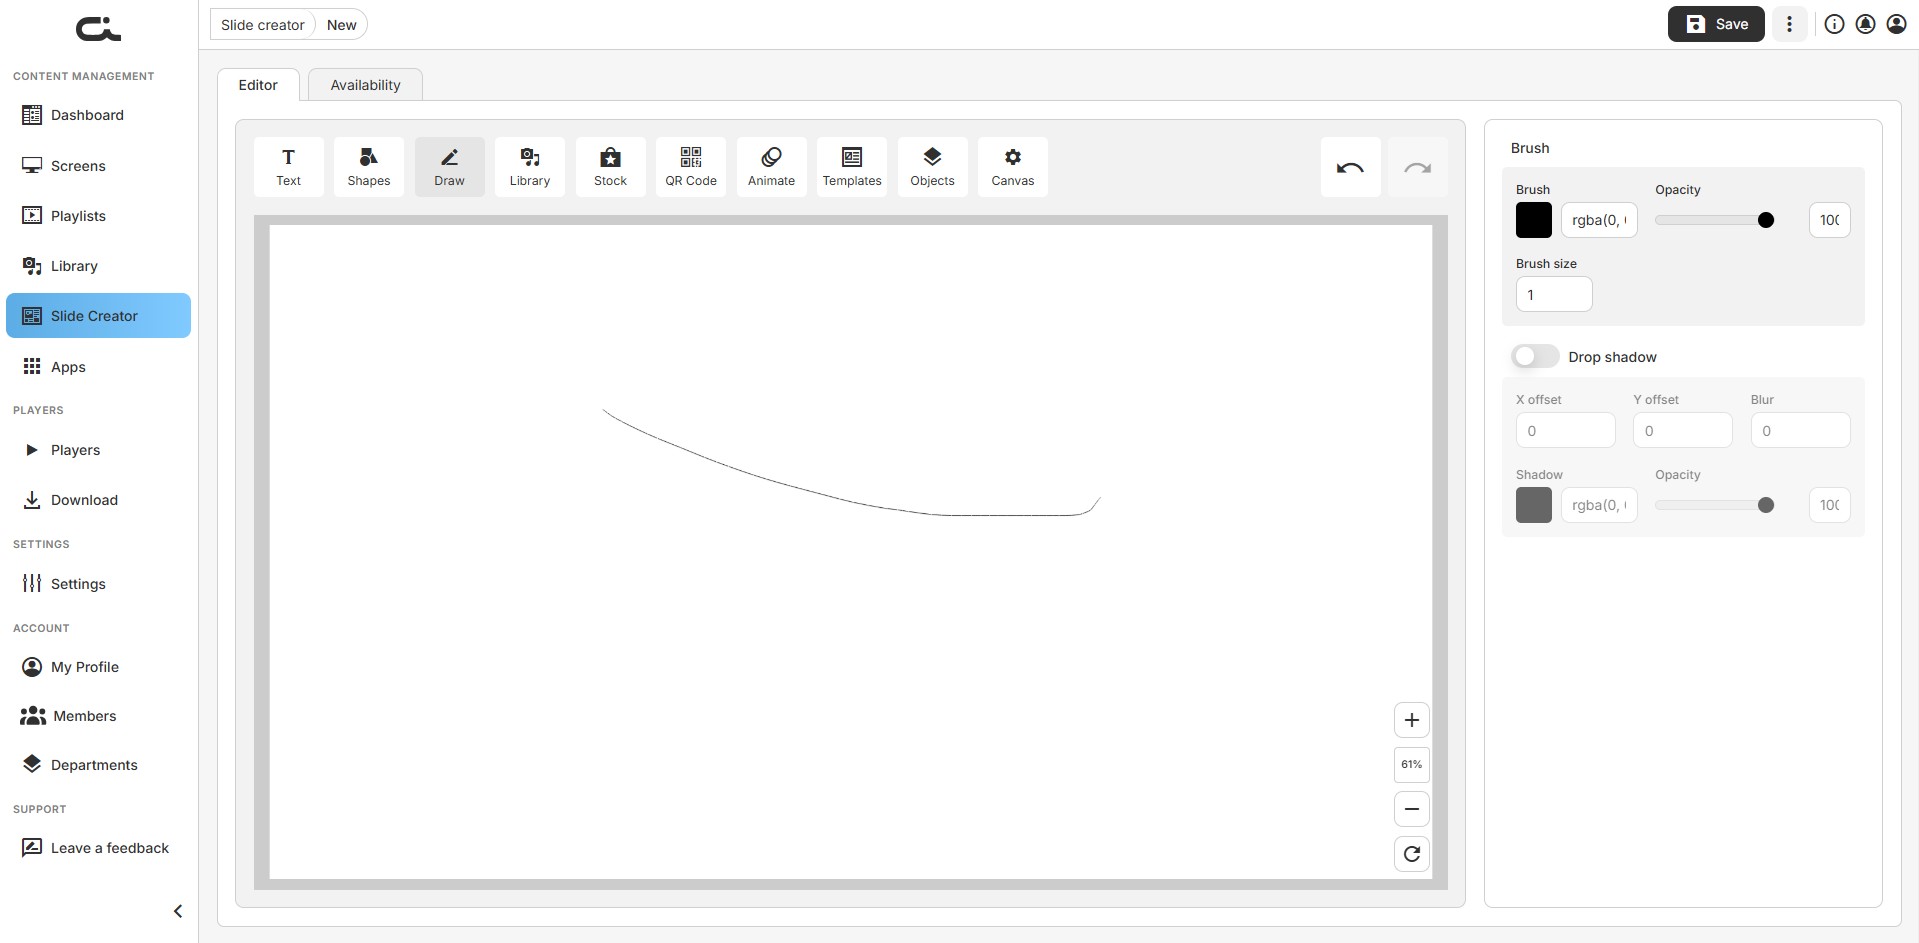
- Brush: Color, opacity, and brush size
- Drop shadow: Optional X offset, Y offset, Blur, shadow color, and opacity
Library Tool
Add your own media to slides directly from the Library.
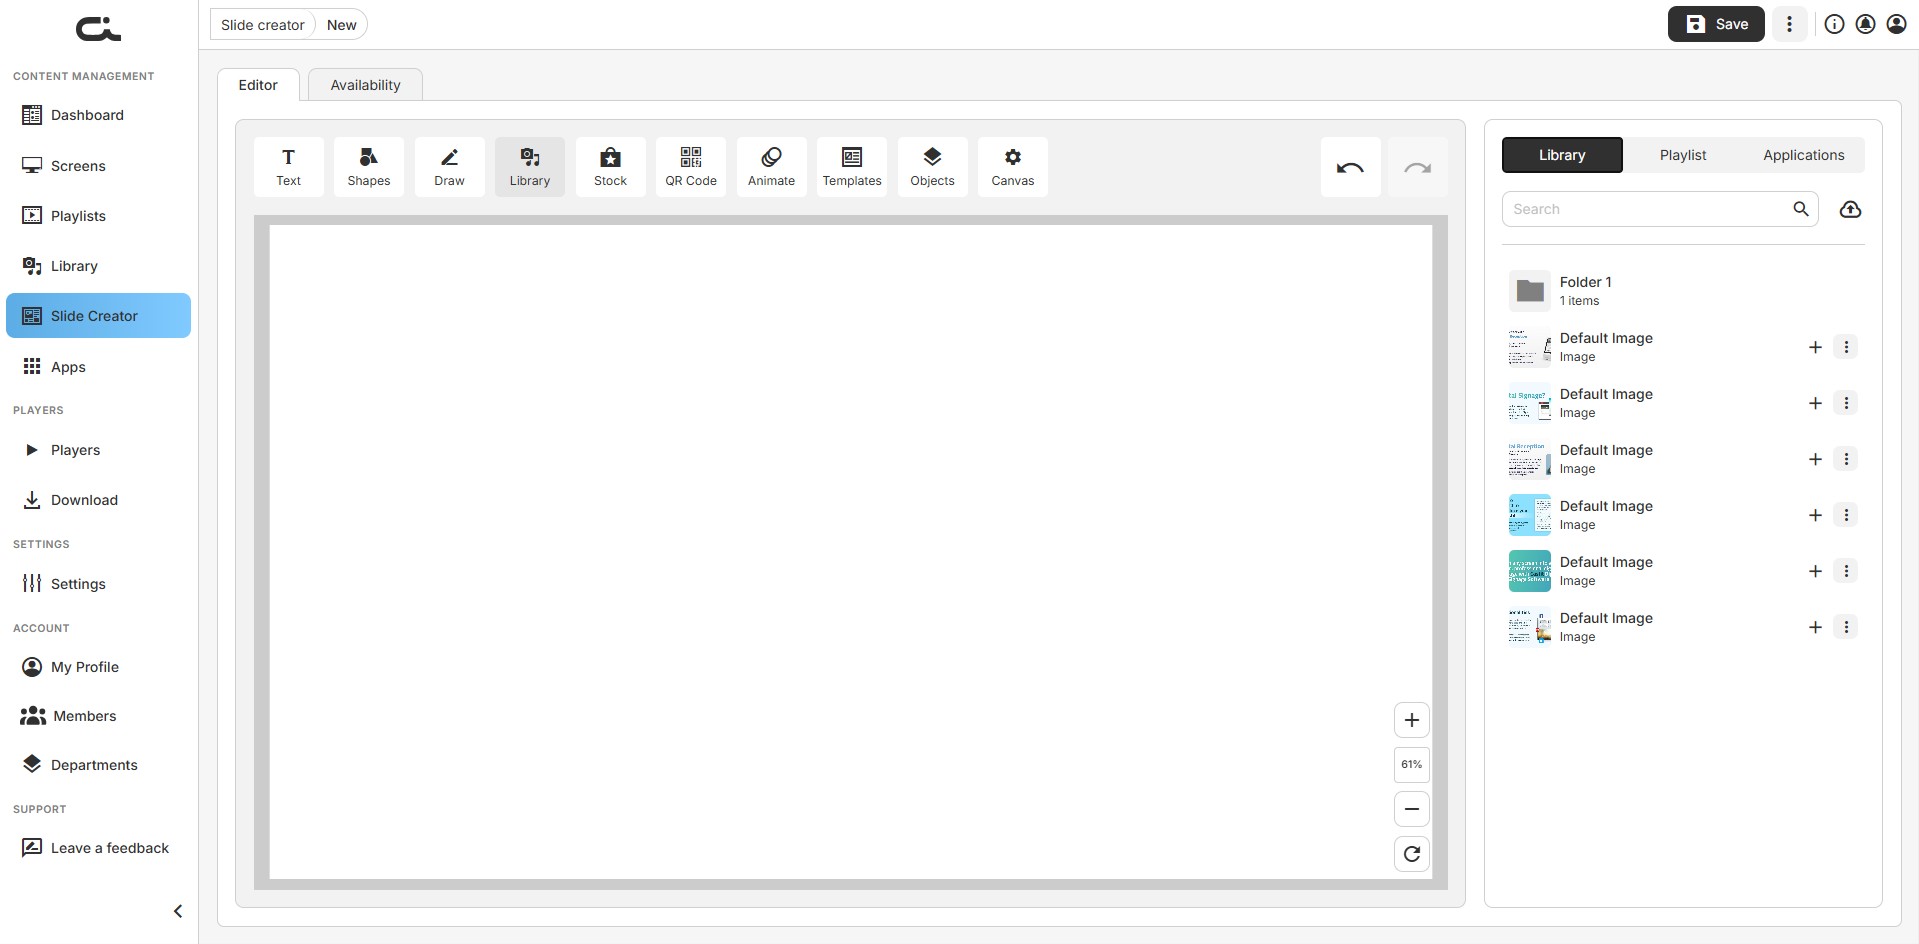
- Sub-tabs: Library, Playlist, and Applications
- Search your media or upload a new file with the upload button
- Click the + on an item to place it on the canvas, or use the ⋮ menu for more options
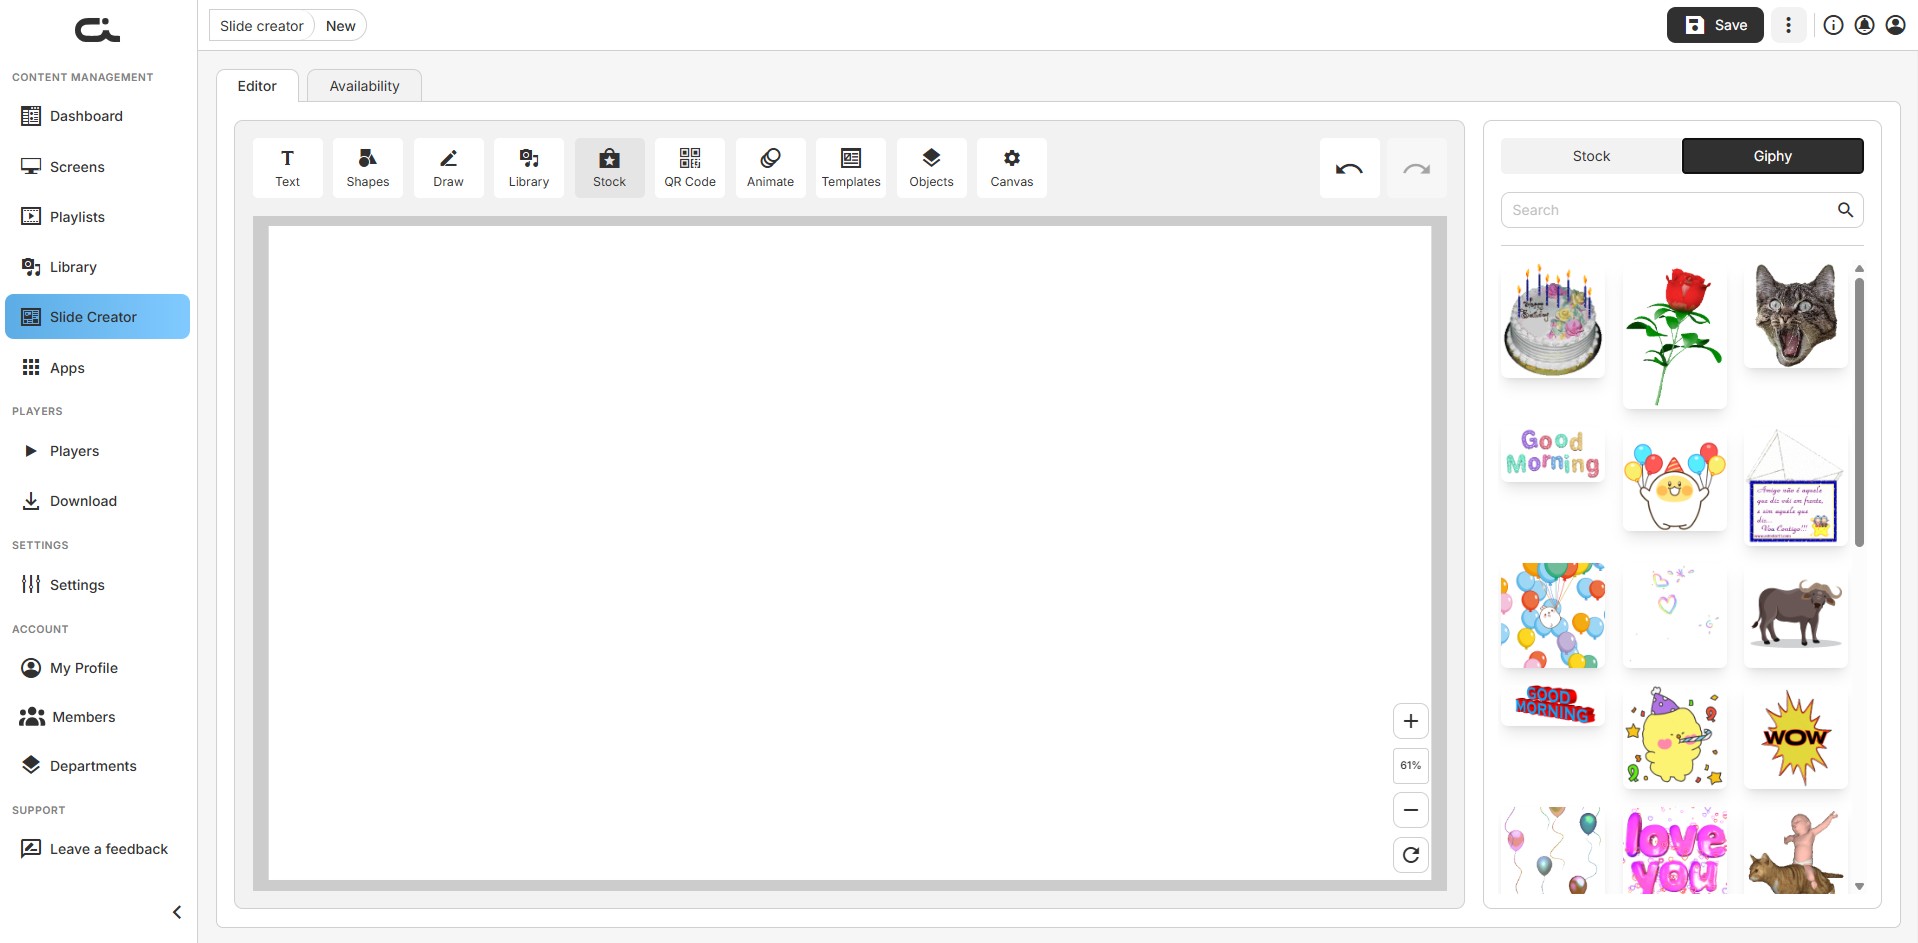
Stock Tool
Insert stock photos and animated GIFs directly into your slides.
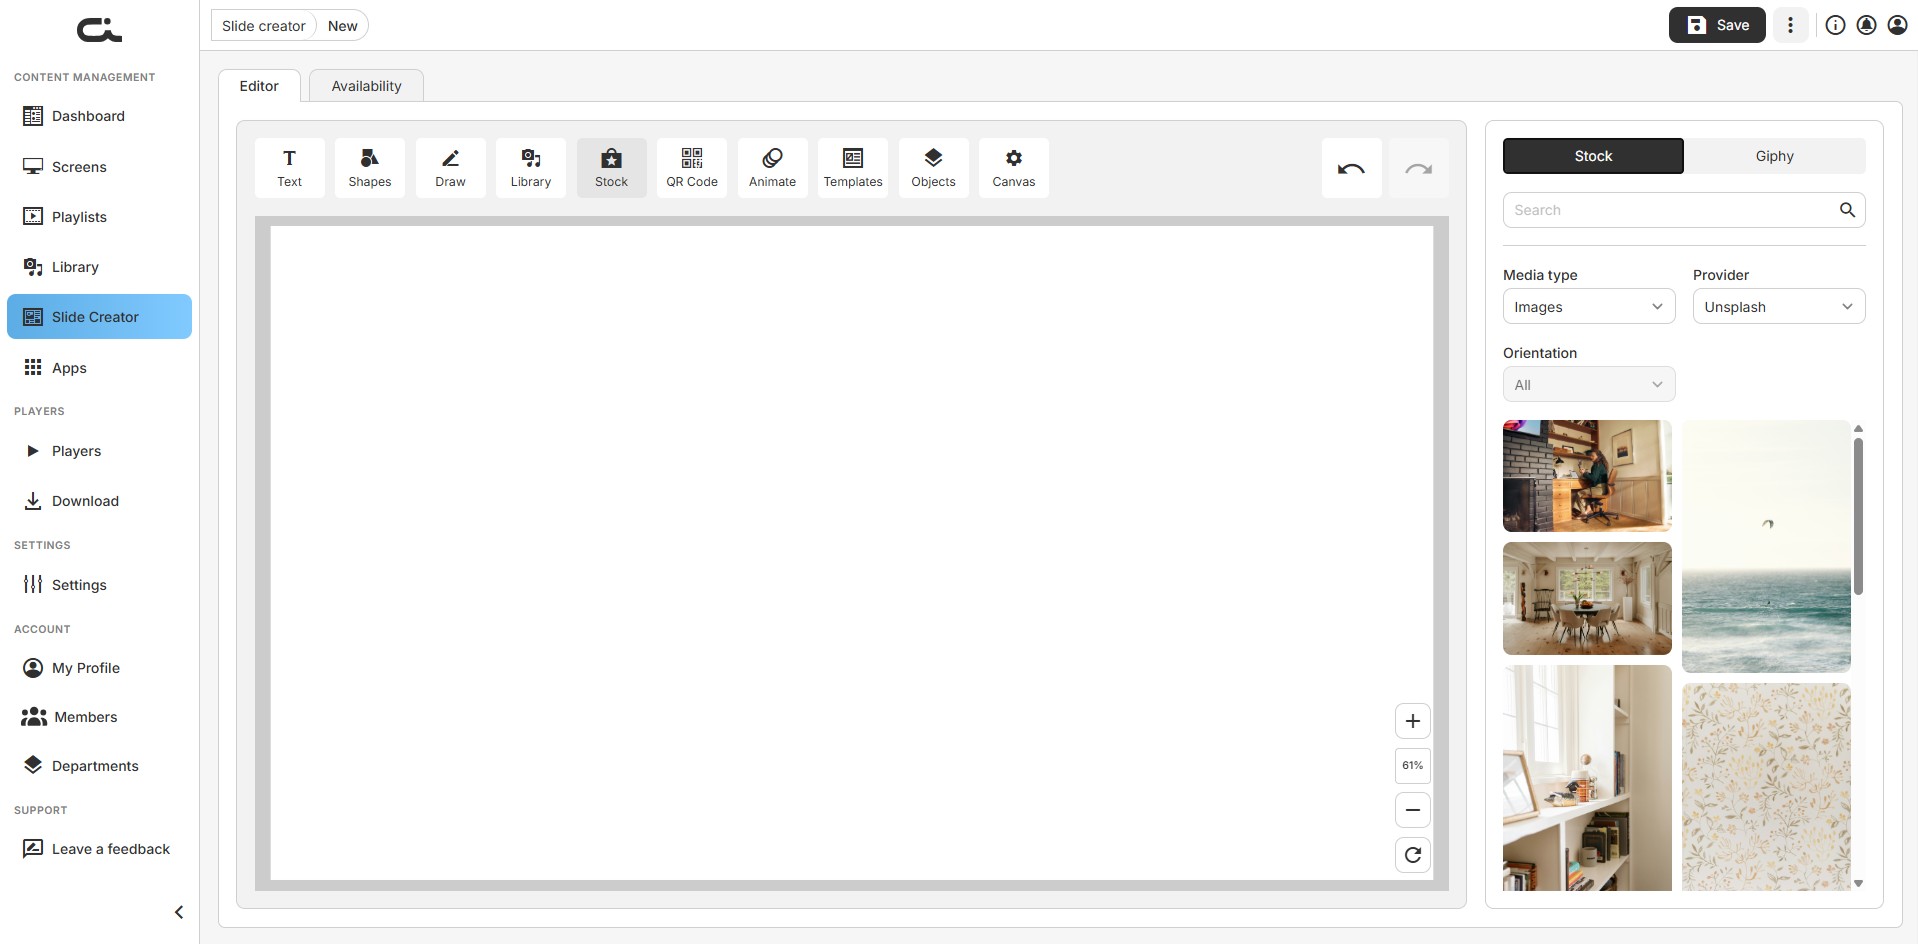
On the Stock sub-tab:
- Media type: Images or Videos
- Provider: Choose your stock provider (e.g. Unsplash)
- Orientation: Filter by All, Portrait, or Landscape
- Search to find specific visuals, then click to add
On the Giphy sub-tab, search and add animated GIFs.
QR Code Tool
Generate QR codes that viewers can scan with their phones.
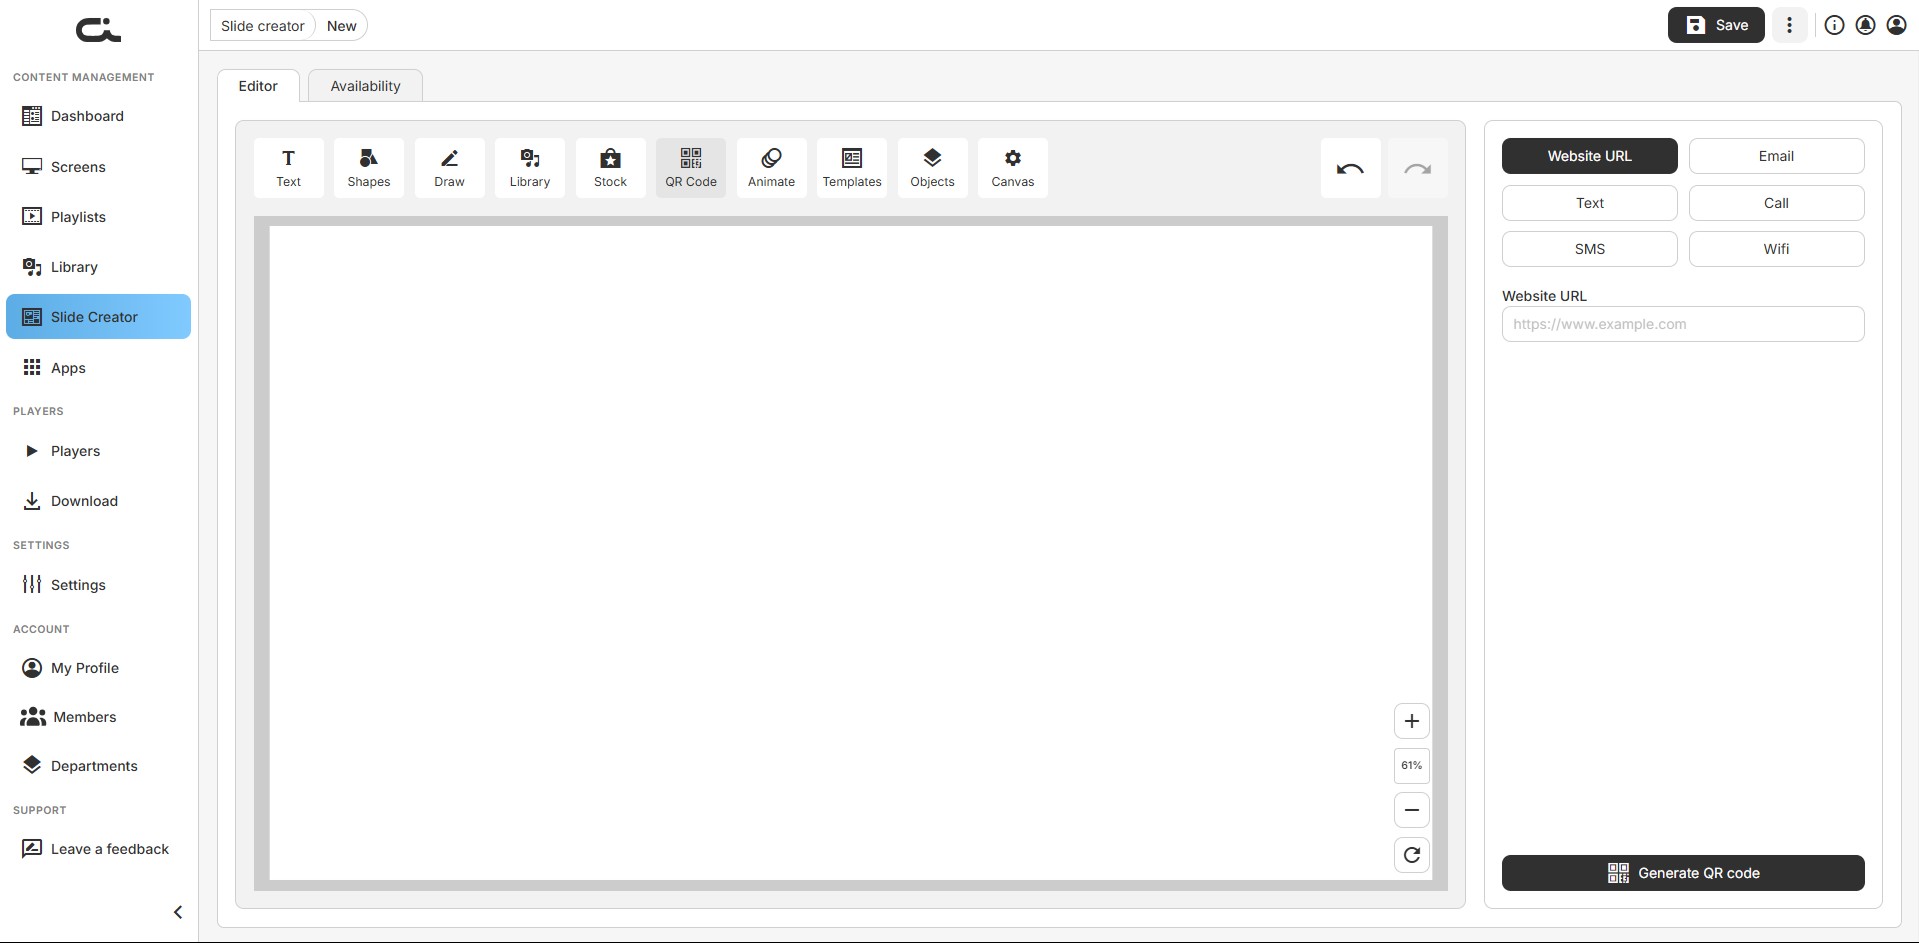
QR code types:
- Website URL: Link to any webpage
- Email: Pre-fill an email address
- Text: Display plain text when scanned
- Call: Initiate a phone call
- SMS: Pre-fill a text message
- Wifi: Share WiFi credentials
To create a QR code:
- Click the QR Code tool
- Select the QR code type
- Enter the required information (e.g. a website URL)
- Click Generate QR code
- The QR code is added to your canvas
Animate Tool
Add animations to slide elements for dynamic displays.
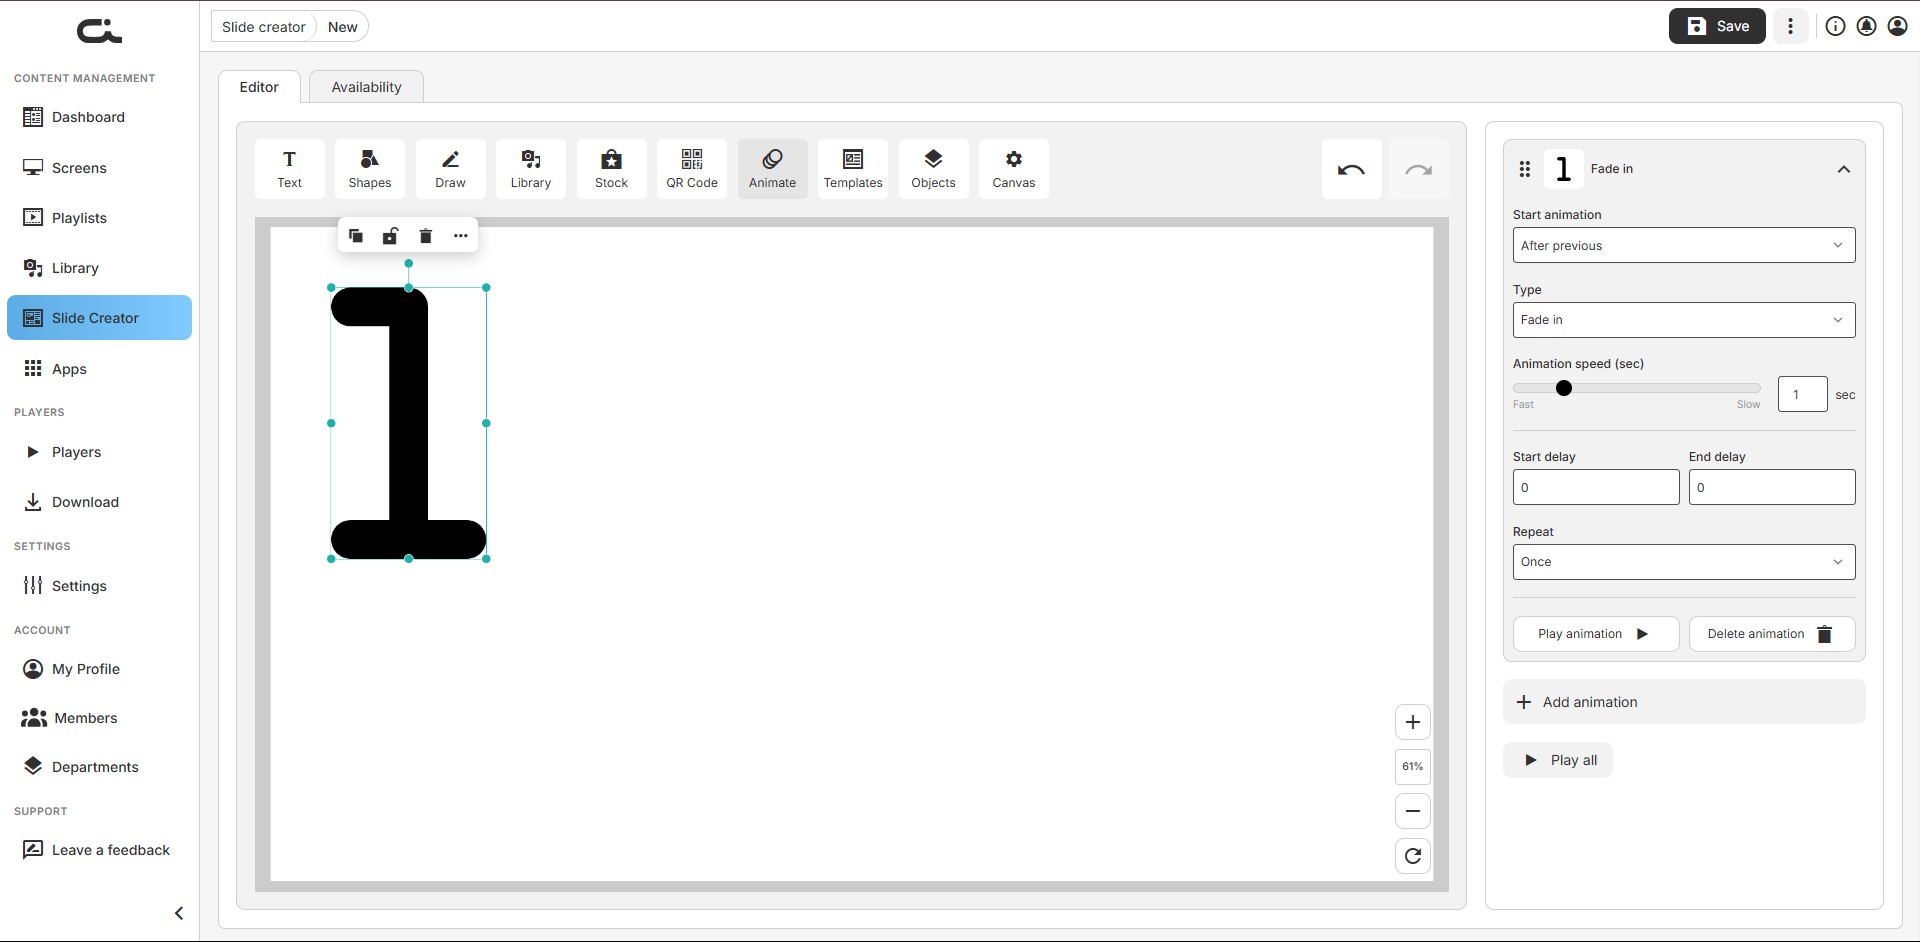
To animate an element:
- Select an object on the canvas
- Open the Animate tool
- Click Add animation, then set:
- Start animation: when it begins (e.g. After previous)
- Type: the effect (Fade in, etc.)
- Animation speed: drag from Fast to Slow
- Start delay and End delay
- Repeat: how often it plays (e.g. Once)
- Use Play animation to preview one step, or Play all to preview the full sequence
Reorder steps by dragging, and remove an effect with Delete animation.
Templates Tool
Apply a template to your current design from within the editor.
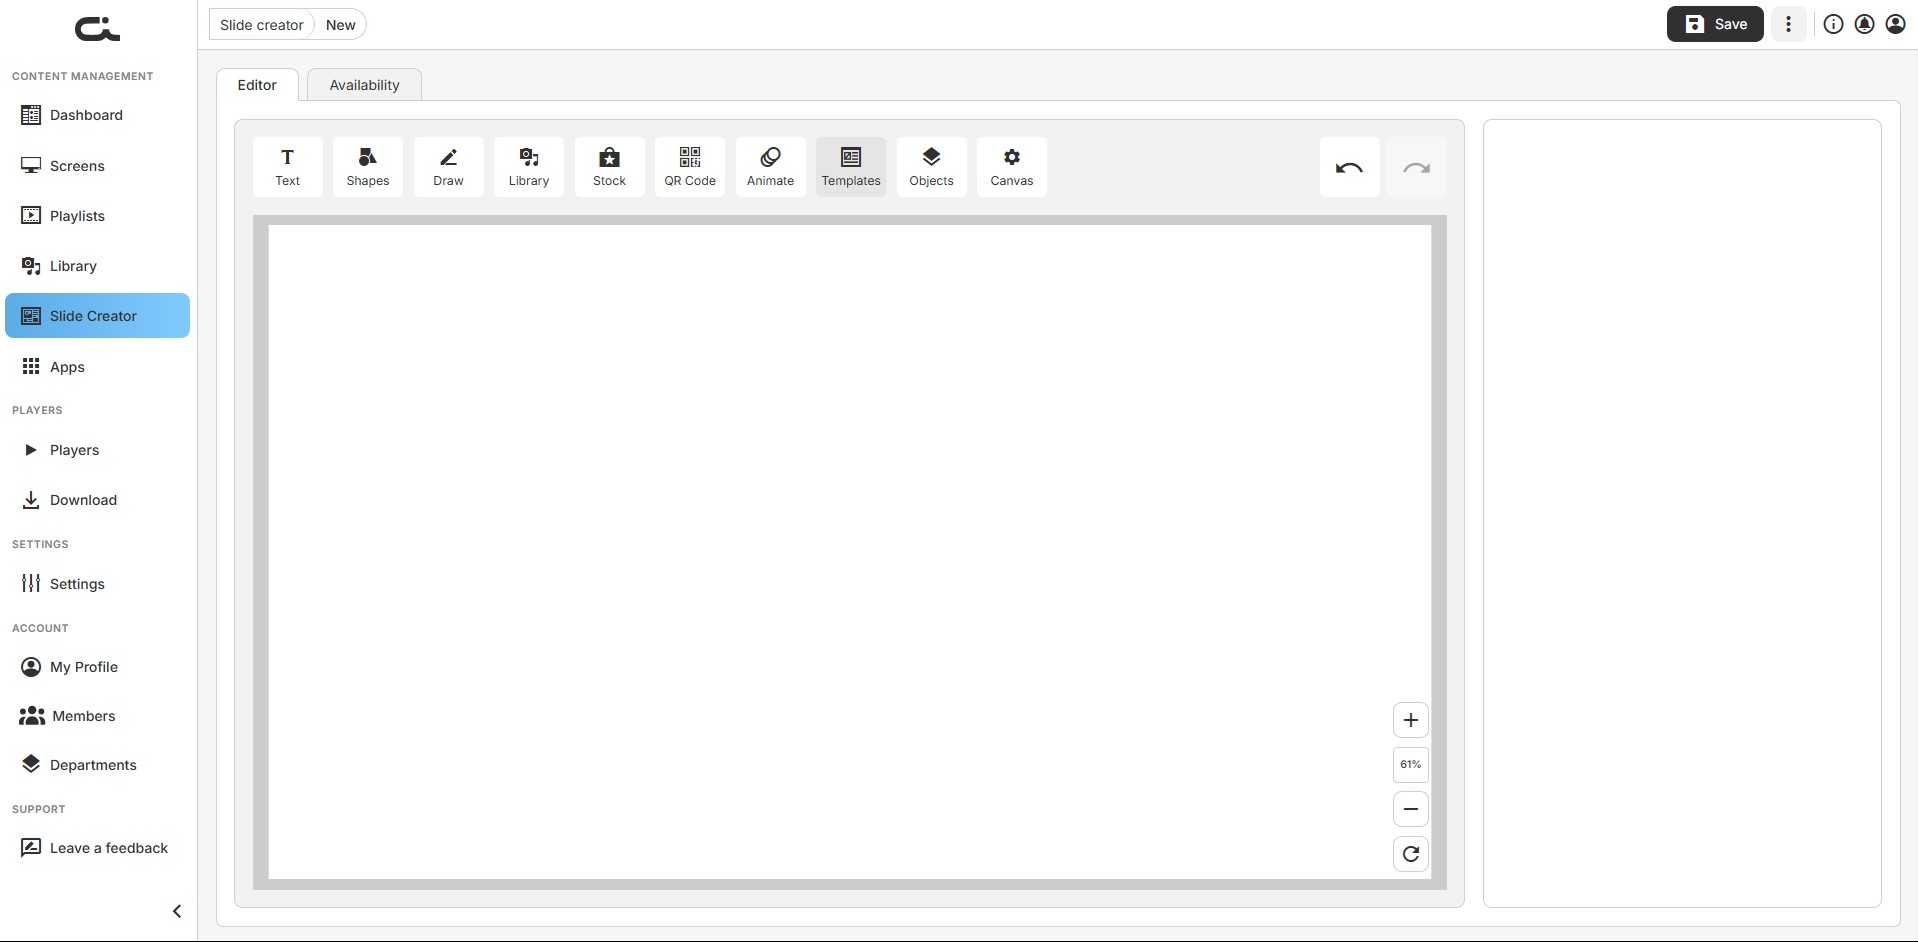
This in-editor Templates tool is separate from the Your templates and Castit templates tabs on the Slide Creator landing page.
Objects Tool
Manage the layers and objects on your canvas.
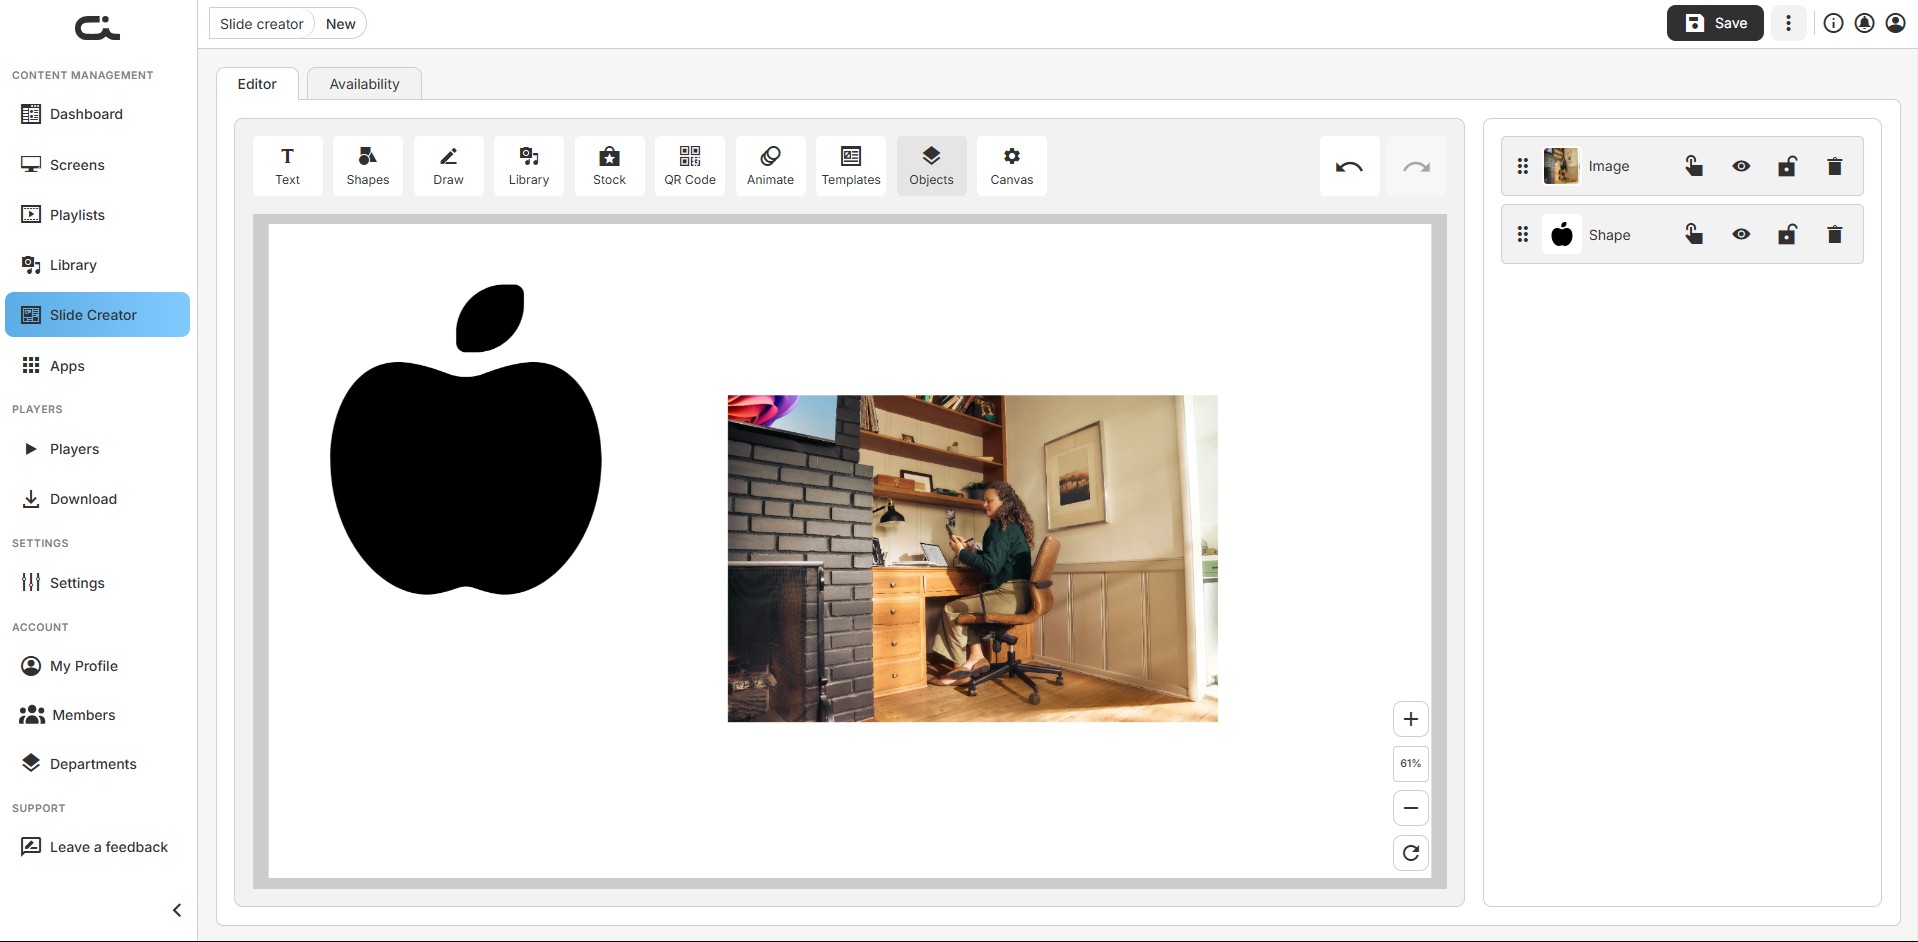
Each object appears as a row with a drag handle, thumbnail, and name (Image, Shape, Textbox, etc.). Per object you can:
- Reorder by dragging
- Duplicate
- Show/hide (eye icon)
- Lock (lock icon)
- Delete (trash icon)
Canvas Tool
Adjust the overall slide properties.
- Size: Set Width and Height, optionally Maintain aspect ratio, then Apply (or Discard)
- Canvas orientation: Landscape or Portrait
- Canvas background: Fill color and opacity, or Use image for an image background
- Show RSS ticker placeholder: Reserve space for an RSS ticker
Working with the Canvas
Canvas Controls
Located at the bottom-right of the canvas:
- Zoom controls: (+) and (–) buttons
- Zoom percentage: Shows the current zoom level (e.g. 61%)
- Refresh: Reset the canvas view
Undo/Redo
Use the undo and redo arrows in the top toolbar to step backward or forward through your changes.
Positioning and Alignment
- Alignment guides appear when dragging elements to help line them up
- Use the Size & Position tab for precise coordinates and alignment
- The floating object toolbar gives quick access to duplicate, lock, and delete
Slide Availability
Open the Availability tab to control when a slide is active:
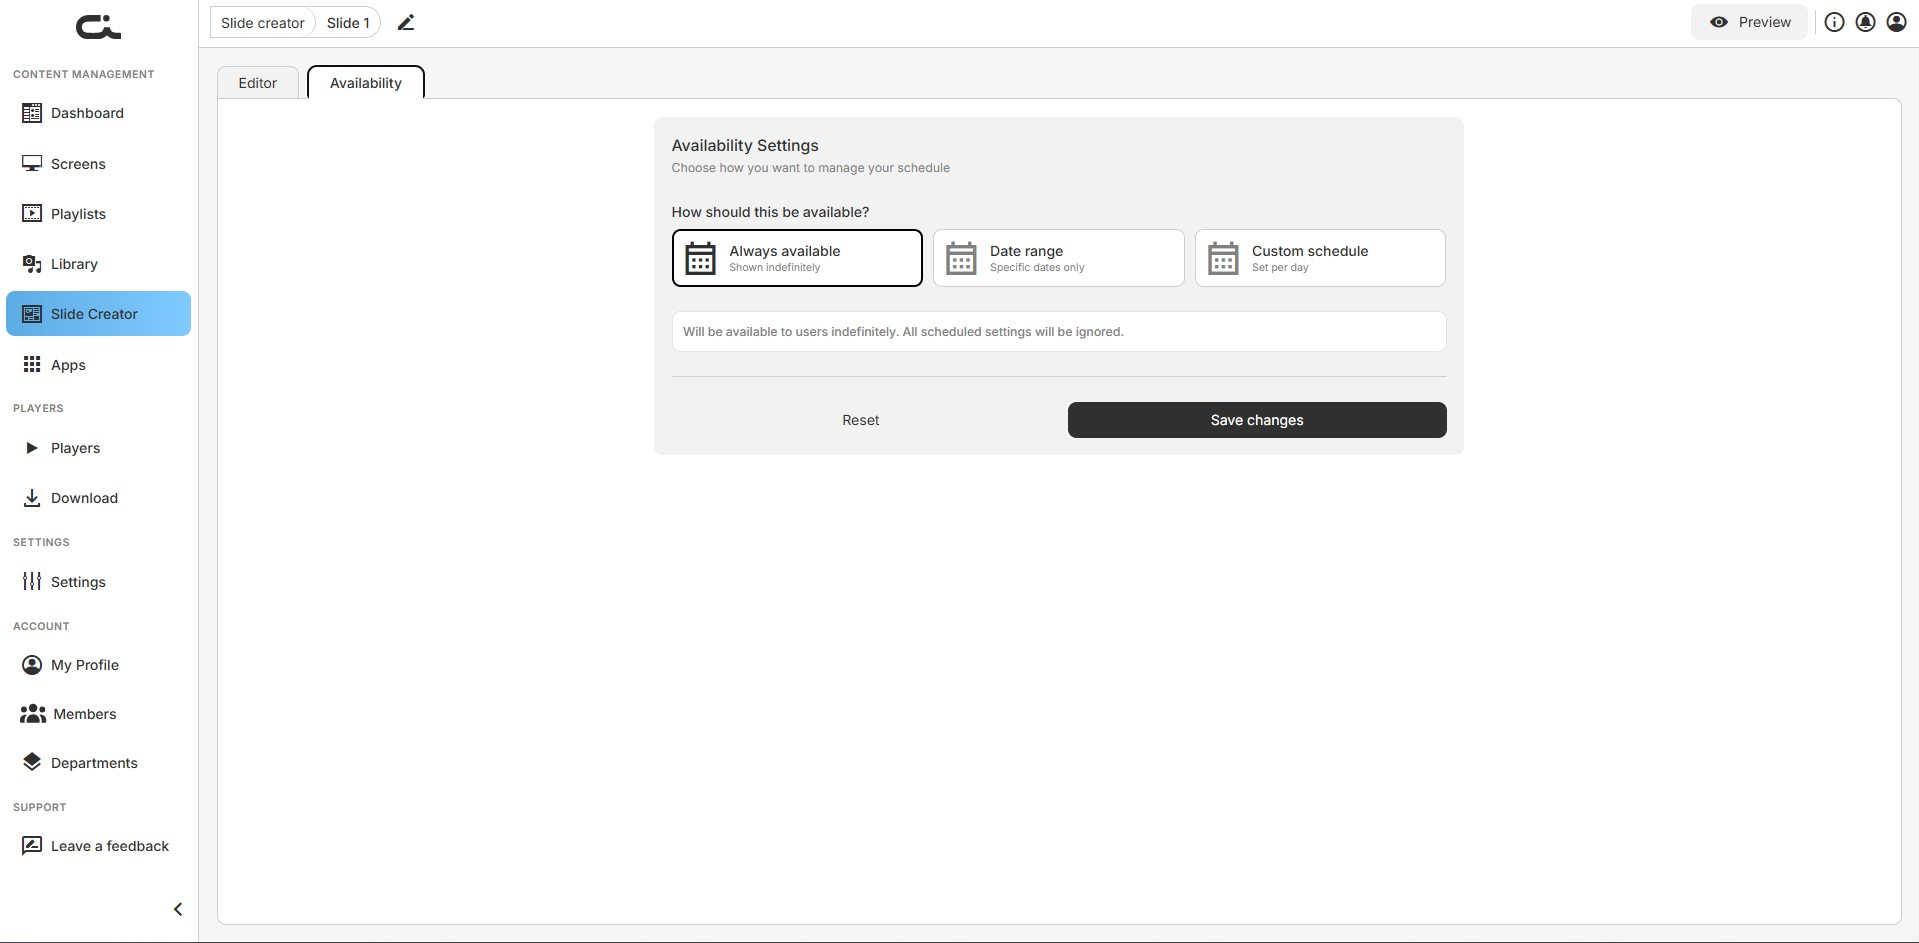
- Always available: Shown indefinitely; scheduled settings are ignored
- Date range: Available only within specific start/end dates
- Custom schedule: Set availability times per day
Click Save changes to apply, or Reset to revert.
Saving Your Work
- Click the Save button in the top-right corner
- Your design is saved to Your designs
- Saved slides also appear in the Library under the Slides tab
- Use saved slides in screens and playlists like any other content
Best Practices
Design Tips
- Keep it simple: Digital signage works best with clear, concise messaging
- High contrast: Ensure text is easily readable from a distance
- Brand consistency: Use your brand colors and fonts
- Legibility: Use large font sizes (at least 40-60pt for body text)
- White space: Don't overcrowd the canvas
Text Guidelines
- Headline: Should be readable in 3-5 seconds
- Body text: Keep to 10 words or fewer per slide
- Font pairing: Use 2-3 fonts maximum
- Alignment: Center-align for impact, left-align for readability
Visual Hierarchy
- Primary message (largest, most prominent)
- Secondary information (medium size)
- Supporting details or calls-to-action (smaller)
- QR codes or contact info (positioned consistently)
QR Code Tips
- Place QR codes at eye level in your layout
- Ensure adequate white space around the QR code
- Test QR codes before deploying
- Include brief instructions like "Scan to learn more"
Using Stock Images
- Choose high-quality, relevant images
- Ensure images align with your brand and message
- Avoid overly busy or distracting backgrounds
- Consider image orientation (landscape for most displays)
Creating Templates
Save time by creating reusable templates:
- Design a slide with your brand colors, fonts, and layout
- Save it as a template from the Your templates tab instead of a regular design
- Reuse the template for future slides with different content
- Maintain consistency across all your digital signage
Common Use Cases
Announcement Slides
- Use Heading 1 for the announcement
- Add date/time details in smaller text
- Include relevant icons or shapes
- Keep the background simple
Promotional Content
- Feature product images from Library or Stock
- Use contrasting colors for offers/discounts
- Add a QR code for more information
- Include a clear call-to-action
Wayfinding and Directories
- Use shapes and icons for visual cues
- Organize information hierarchically
- Use arrows to indicate direction
- Keep text brief and scannable
Event Information
- Headline with the event name
- Date, time, and location details
- QR code for registration or tickets
- Event branding or imagery
Social Media Integration
- Display social media handles
- Add QR codes linking to profiles
- Include social media icons
- Show hashtags for campaigns
Troubleshooting
Text Not Displaying Correctly
- Check font weight and size settings
- Ensure text color contrasts with the background
- Verify text is not behind other elements in the layer order (use the Objects tool)
QR Code Not Scanning
- Ensure adequate size (minimum 2x2 inches when displayed)
- Verify sufficient contrast between the QR code and background
- Test the URL or data before generating the code
- Leave white space around the QR code
Elements Overlapping
- Use the Objects tool or the Arrange controls to reorder layers
- Bring important elements to the front
- Send background elements to the back
Slow Performance
- Reduce the number of high-resolution images
- Simplify complex designs
- Save your work frequently